The HomePod and HomePod mini are two of the best smart speakers compatible with Apple HomeKit. Offering impressive sound quality, eye-catching designs, and access to the Siri voice assistant, the two gadgets are a perfect centerpiece for any smart home. Best of all, Apple is continuously improving their performance through software updates – and most of the time these are installed automatically.
However, if you want to manually check for updates and make sure you’re running the latest software, there are a few easy steps you can take. Here’s how to update your HomePod or HomePod mini.
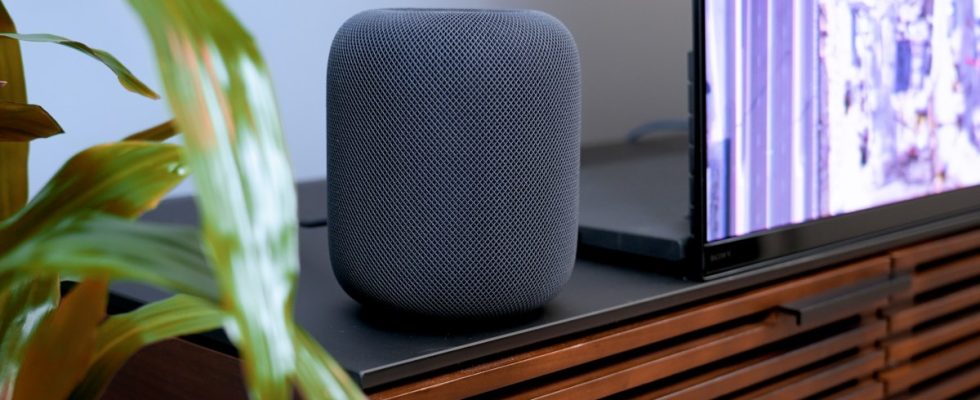
Zeke Jones / Digital Trends
How to update your HomePod or HomePod mini
Regardless of whether you’re using a HomePod or HomePod mini, the updating process is the same. Simply open up the Home app on your iOS device (after verifying that it’s running the latest software), and follow these steps.
Step 1: In the Home app, select the More button.
Step 2: Next, go to the Settings menu and select Software Update.
Step 3: If Apple has released an update that’s yet to be installed on your device, you’ll be able to select the Update button.
Step 4: You can also toggle the settings for Automatic Updates. It’s recommended that you leave this turned on, as it’ll ensure you’re always running the latest software. The Software Update menu will also tell you which version your HomePod is running.
Step 5: Keep in mind that software updates might take a bit of time to complete, and your HomePod might not be fully responsive while the update is happening. You’ll know an update is in progress by the spinning white light on your HomePod — while this is active, be sure to keep your HomePod plugged in.
Editors’ Recommendations