
Learn more about shallots
From the family of Allium ascalonicum, like garlic and onion, the shallot is a rustic bulbous perennial that you can grow in the ground in your vegetable garden, but also in a pot on your balcony or terrace, whatever region of France in which you live. Its cultivation only takes up little space, so if your vegetable garden is rather small, you can plant shallots between two rows of other vegetables. Let’s get to know the shallot a little better:
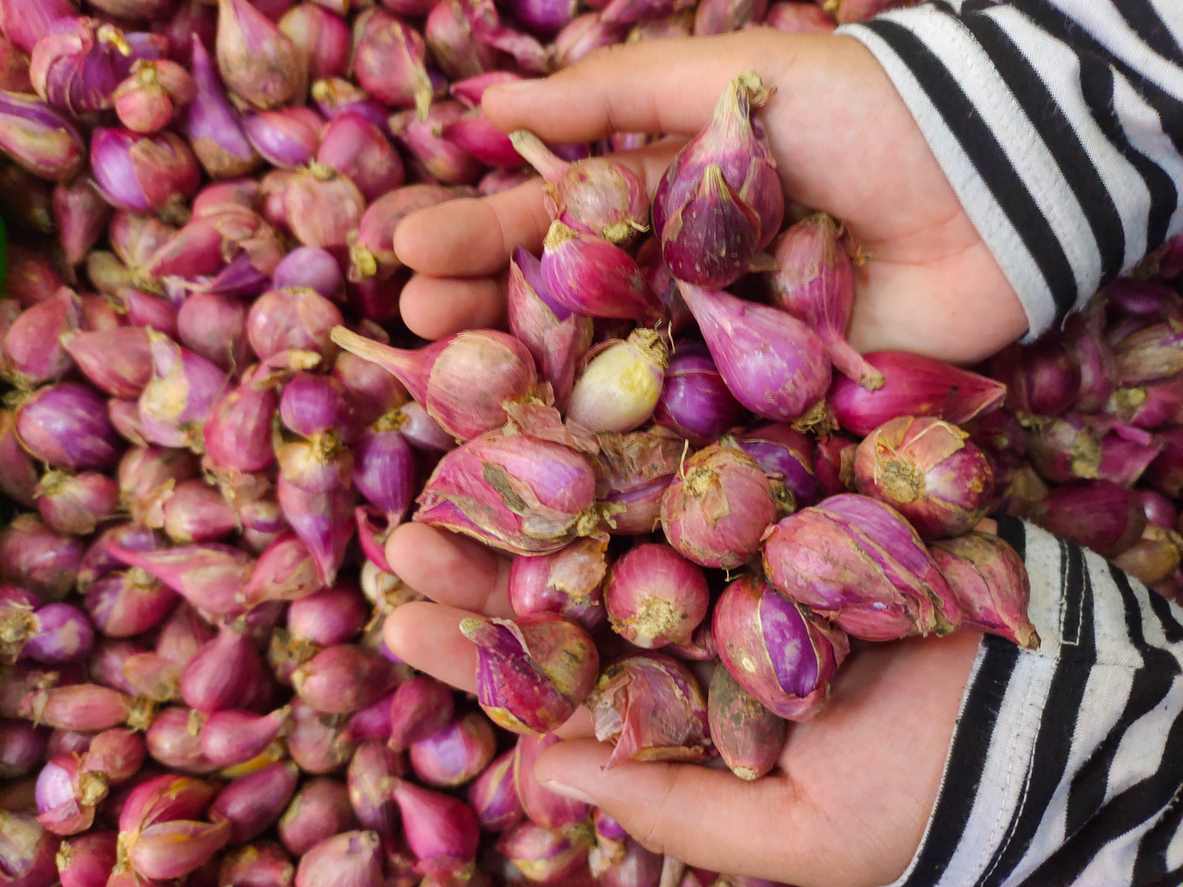
- Its description : To benefit from shallots in your kitchen, you must plant a bulb which will give rise to several cloves united in a clump of a size practically equivalent to that of the original bulb and, above the surface of the soil, with narrow, tubular, glaucous green leaves.
- Its benefits : With a finer flavor than that of onions, shallots are rich in vitamins C, B and E and mineral salts, such as magnesium, iron and selenium. Shallots are considered antioxidant, anti-inflammatory and antibacterial, as well as immune and cardiovascular support.
- Its uses : Cloves can be eaten cooked as a seasoning for a dish or raw in a salad. As for the leaves, they can also be eaten finely chopped in a salad, an omelette, etc., as you would with chives.
What the shallot needs to grow well
As we saw in the introduction, shallot cultivation is within everyone’s reach, but a few rules must however be respected.
In terms of bulbs
For successful cultivation, it is recommended to favor certified transplanting bulbs in order to avoid the spread of diseases or viruses. Furthermore, they must be healthy and undamaged. You will then have the choice between different species and varieties of shallots which are divided into three groups:
- Gray shallots : They are characterized by purplish-white flesh and elongated bulbs, rather small and covered with thick beige skin.
- Pink shallots: They are also called “Jersey shallots”. Their bulb, larger than that of gray shallots, can be long, half-long or round, and is covered with a thin yellow skin. They keep better than gray shallots but are less aromatic.
- Dutch shallots : The bulbs are round and covered with a yellow or reddish skin.
On the ground level
The shallot thrives in fertile garden soil which is best loosened beforehand to allow good water infiltration. You should, in fact, know that shallots are extremely sensitive to humidity, which leads to rotting of the bulb. To heavy soils, it prefers, by far, light, even sandy soils. If the soil in your vegetable garden does not meet these criteria, you can create mounds, or ridges, to cultivate your shallots.
This solution will allow you to limit drainage problems. Thus, to prepare the soil of the plot intended for the cultivation of shallots, you must either loosen it deeply or create the ridges. There is no need to add fertilizer, manure or compost.
On the exhibition plan
For your shallot cultivation, choose a warm and sunny location.
When to plant shallots?
Shallot planting time depends on both the climate of your region and the variety of shallot chosen. In any case, it is wise to wait until all risk of frost has passed.
- Pink shallots can be planted just before the start of spring, in February or March. But as we have seen, this period must be adapted to the climate of your region and the weather.
- Gray shallots canfor their part, be put in the ground in the fall, in October or November.
- In the south of France, shallots can be planted before the start of winter, in October or November.
If you garden with the moon, the best days to plant shallots will be 24, 25, 26 after 9 a.m., and March 27.
How to plant shallots
As we have seen, shallots can be planted in the ground if the soil in your vegetable garden is sufficiently light and draining, or on a mound otherwise. Here’s how to do it:
- With a rake or a fang, start by loosening the soil. If you are faced with the problem of heavy soil, at the same time as you loosen the soil, bring the earth towards you so as to form a mound 10 to 15 cm high. To promote drainage, you can even add a little sand.
- Then put bulbs online making sure to leave a space of 30 cm between the rows and 15 cm between the bulbs. Be careful to respect the direction of the bulb: the tip facing upwards.
- Place the bulb in the ground about 2 cm deep : the tip must be flush with ground level.
- Lightly cover the rows with fine soil.
- Finally, carry out a first watering.
If you want to grow shallots in pots, you can then grow them for a short time in pots filled with geranium soil. You can then harvest them as needed.
And after planting?
Once your shallot bulbs are in the ground, they require little maintenance:
- It is not necessary to water the shallotsexcept at planting time and in the event of prolonged drought.
- Simply hoe the soil from time to time to keep the soil aerated and weed-free. To limit weeding operations, you can install mulch.
Shallot harvest
Depending on the period in which you plant the shallot and depending on the varieties, the harvests will not take place at the same time, but as a general rule, it is necessary to count a cultivation period of 8 to 10 months for bulbs planted in autumn and 5 to 6 months for those planted in February or March. So, to know when to harvest, simply wait until the foliage has yellowed half of its height and begins to sag. To harvest, proceed as follows:
- Start by pulling out the clumps.
- Leave them on the ground, in the sun, for at least 2 days so that they can dry.
- Once dry, place them in a cool, dry and ventilated place to store them, this can be in a crate or suspended from the ceiling upside down after braiding the foliage.
Good associations and crop rotation
In the vegetable garden, you can combine the cultivation of shallots with those of strawberries, lettuce and carrots. On the other hand, it is preferable to keep them away from legumes such as beans, peas and beans.
Growing shallots is not very taxing on the soil, but after growing shallots on a plot, it is advisable to wait 3 to 4 years before growing it again in the same place. In the meantime, avoid growing leeks, onions or garlic on this plot. Conversely, the following year, turn to growing fruiting vegetables, such as tomatoes, squash, peppers, etc. in this location.