Spicy vegetables
Planting chillies: This is how you harvest your personal favorite peppers
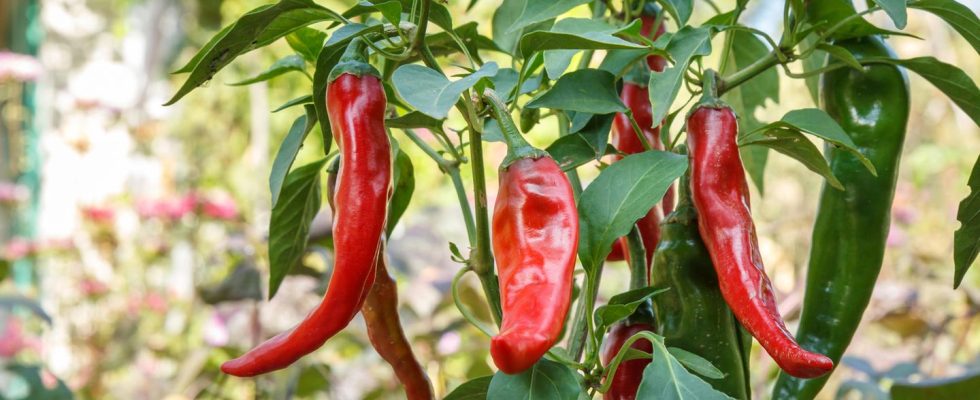
Chili peppers are easy to grow in the garden or on the balcony
© Vitalii Marchenko/Getty Images
Botanically speaking, a chili is nothing more than a pepper – only hotter. And smaller. There are even mild varieties that taste neutral. Depending on what you prefer. Although the nightshade plant comes from Central and South America, it can also be sown here. If the circumstances are right.
It is estimated that there are up to 4,000 different types of chili worldwide. And they all have a different level of spiciness. This is given in Scoville: For example, a pepperoni measures up to 1,000, jalapenos up to 5,000, habaneros up to 250,000 and a Carolina Reaper, the hottest chili, up to 2,200,000 Scoville. Depending on how spicy you like to eat (and how you can tolerate it), you can plant different varieties in the garden or on the balcony. We will explain to you step by step how the small seeds become productive plants.
The preparations: Planting chilies
The best time to sow chillies is between February and March. Why so early? The answer lies in the very slow growth of the plants. Anyone who has ever planted peppers knows the long waiting times: from seed to harvestable plant (depending on the weather) it can take up to six months. If you start growing early, the first fruits will be ready by summer. Ideally, you pull the Chili seeds in a bright, warm and wind-protected location – such as a windowsill. Alternatively, there is a small one Film greenhouse at. Special cultivation pots and potting soil (without fertilizer) are particularly suitable for planting chilies. These steps then follow:
- Fill the Growing pots two-thirds of it with potting soil.
- Place one seed in each pot and add soil over it.
- Moisten the soil with water, for example via a Ball shower.
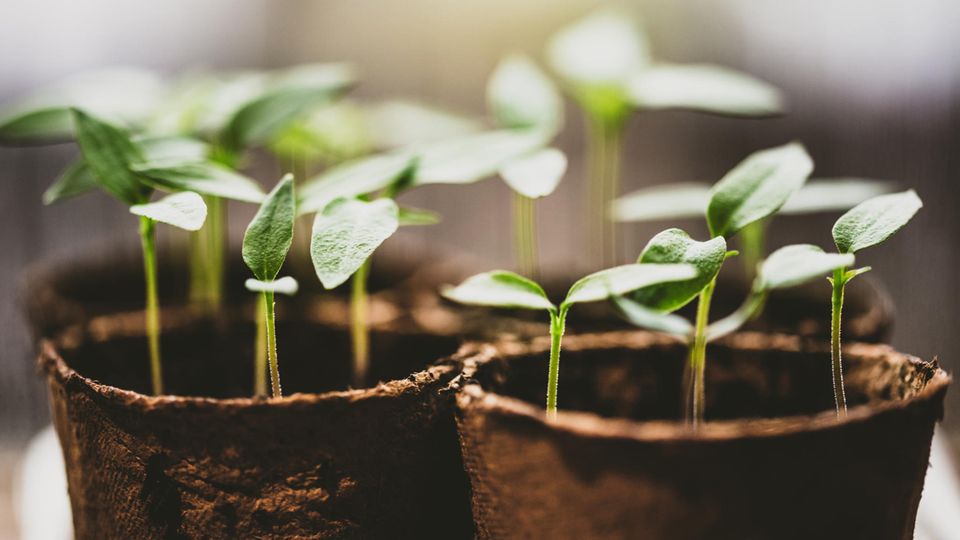
- When the seedlings stick their heads out of the soil, the lid is removed.
The chili seeds germinate after just a few days
© miriam-doerr / Getty Images
Repotting: Put chilies outdoors
Since the seedlings are very sensitive to cold, you should only plant the tender plants outdoors when it gets warmer outside – but at the latest after the Ice Saints, that is middle of May. Depending on whether you want to grow the chilies in the garden or on the balcony, the transplanting procedure is different:
Plant chilies in the garden
Regardless of whether you want to plant the young plants in a vegetable or raised bed, the soil should always be well loosened and rich in nutrients (for example with compost or a… Long-term fertilizer) and be deep enough for the growing root system. Place the plants next to each other in the soil at a distance of at least 50 to 60 centimeters, press them down slightly and then water the soil thoroughly. In order for the chilies to grow optimally, a sunny location protected from the wind is recommended.
Grow chilies on the balcony
If you don’t have a garden and would like to grow the chilies on the balcony, repotting them in a flower pot is also possible. This should have a capacity of at least 20 liters so that the young plants have enough space to grow. Here too, press the chilies well and water the soil. Then place the flower pot so that it gets as much sun as possible and is exposed to as little wind as possible.
Care: Water and fertilize chilies regularly
In order for the plants to produce lots of fruit, they need water – and not just a little. Nevertheless, it is important to avoid waterlogging. To find out if the chili is thirsty, stick a finger in the soil. This allows you to quickly find out whether only the top layer is dry or the floor underneath is dry too. If this is the case, you should use a watering can. Yellow and wilted leaves are also a sign that the young plants urgently need water. Incidentally, some varieties can also become spicier the less moisture they receive (without drying out).
In addition, it is important to fertilize the chilies regularly: whether with a commercially available one vegetable fertilizer or a home-made nettle manure is up to you. It is also recommended to cut off the royal flower – the first flower that forms on a plant. This means that the harvest will be more plentiful, at least that’s what an old farmer’s rule says.
The yield: harvesting chilies and processing them
Don’t be confused by the fact that the fruits are initially green, yellow or black – in this case they are simply not ripe yet. Only when the chilies turn their rich red, usually between August and September, they are ready to be harvested. If you don’t want to eat the pods directly, you can dry them and process them further. It is best to hang the fruits on a thick string so that they dry out evenly all around. Alternatively, you can speed up the process by drying the chilies in the oven: at 40 degrees, with the door open, for several hours.
You might also be interested in:
This article contains so-called affiliate links. Further information are available here.


