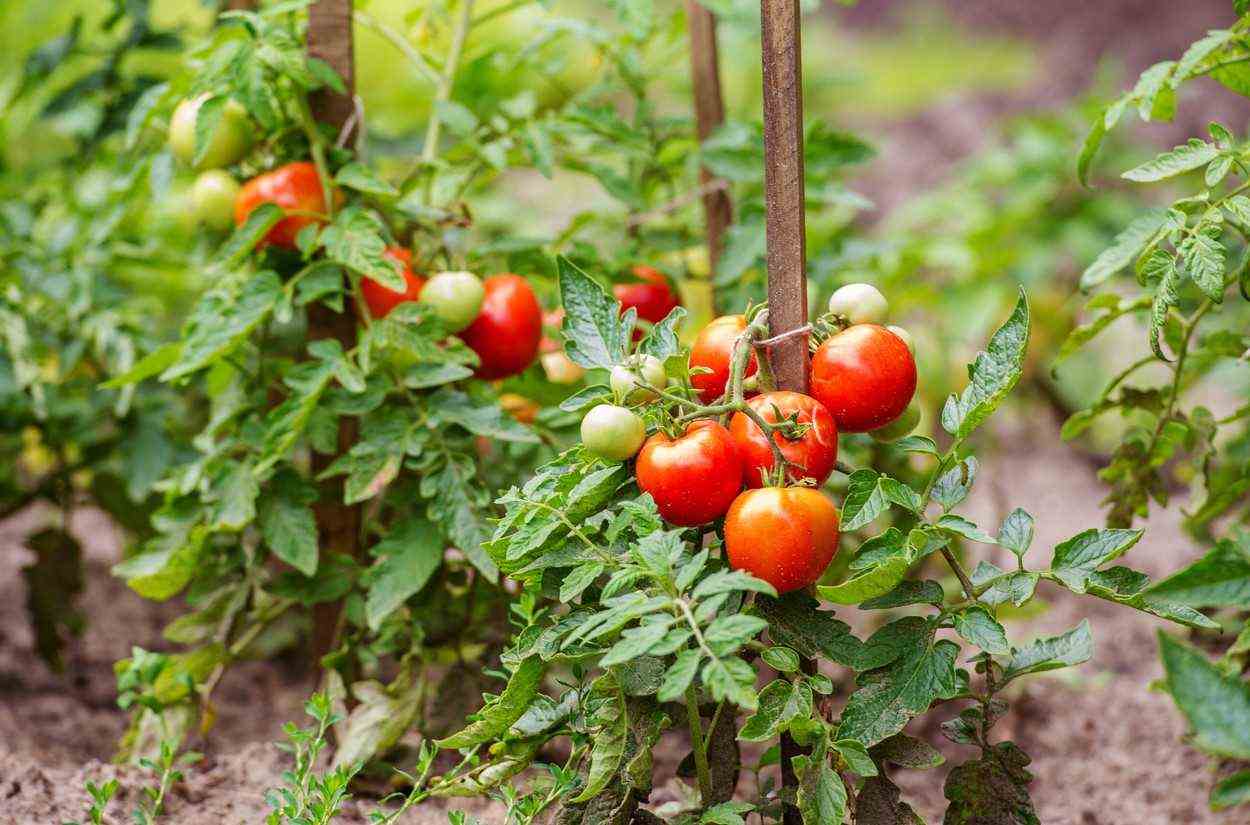
Stake the tomato plants
While it is not mandatory to stake your tomatoes, this operation is strongly recommended. Indeed, the tomato plant does not have sufficient strength to allow it to support its weight. To promote its growth, we will therefore opt for the use of tutors. This will prevent the plant from growing lying on the ground where it could develop disease and be at the mercy of pest attacks. In addition, picking will be simplified and production of better quality.
It is possible to buy tutors off the shelf, but they are often unsightly and quite expensive for what they are.
The simple tutor
The simple tutor is widely used because it is easy to implement. You can simply use a wooden stake and stick it in the ground. As the plant grows, you just need to secure it to the stake.
This solution can be used in many other cases, to support any plant that needs it. You don’t have to be a great handyman to enjoy it. The diameter of your stem must be at least 3 cm to support the weight of the plant and the pressure, when it is going to be planted in the ground. To introduce it more easily into the earth, you can cut the end to a point. If you have the possibility, plan a length of 2 m, or even 2.50 m.
It is recommended to use bamboo stems because of their rot or hazelnut for its robustness. If you choose branches, go for the ones that are as straight as possible.
The V-shaped tutor
As the name suggests, these are two tutors associated to form an upside down V. To achieve this, you must connect two tutors by their top. You must prepare as many as necessary, then align them, making sure to leave a sufficient distance between the frames thus formed so as not to hinder the good development of the plants.
As a general rule, it is advisable to respect a distance of fifty centimeters to one meter between two stakes. The last step in setting up is to connect the inverted Vs together with a long branch at the top. It will make it possible to keep the tutors between them. You can make this structure any size you need. In addition, this solution is quite durable as long as you take it apart at the end of the season and reinstall it when you need it again.
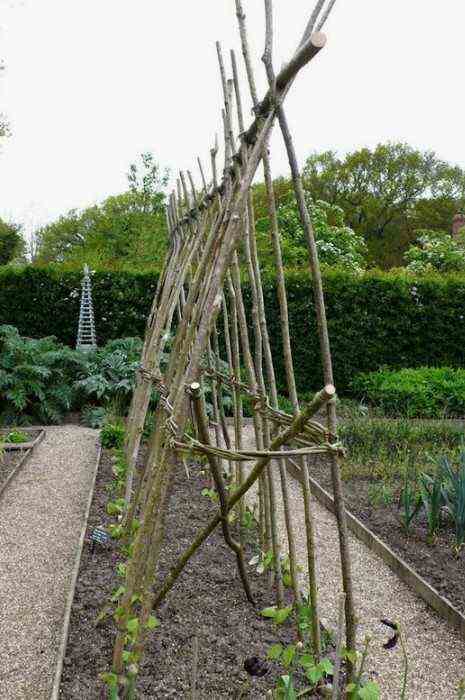
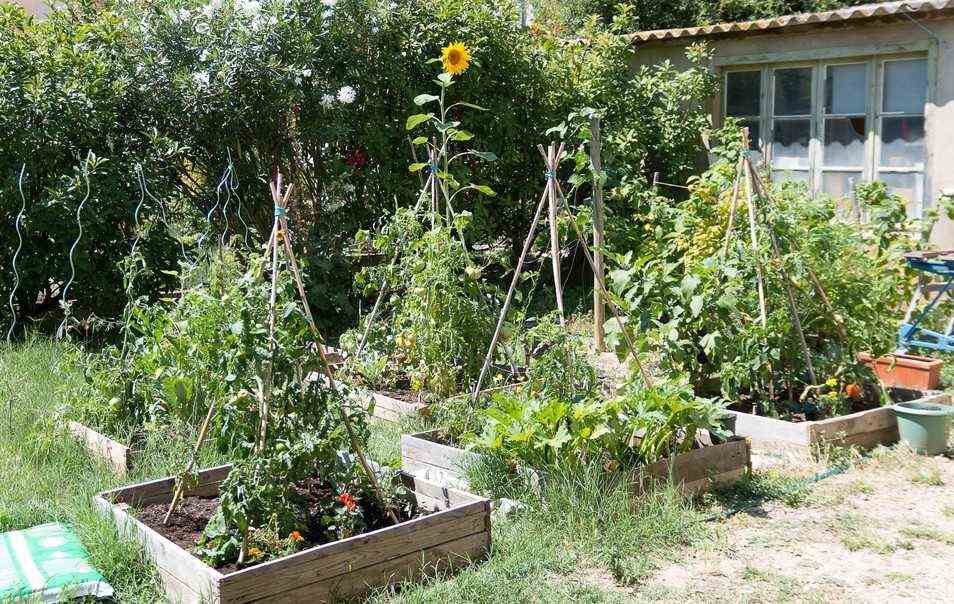
The tepee tutor
For this tutor, as his name suggests, we will be inspired by Indian cone-shaped tents. For its realization, you will need three or four branches. The fact of using a fourth leg makes it possible to benefit from an even more robust teepee. The manufacturing procedure is simple: just tie the branches securely together at their top and plant them a little in the ground for a better hold in place. This solution can be used in areas where there is a lot of wind. This solution is also appreciable for plants giving rise to rather heavy fruits or vegetables.
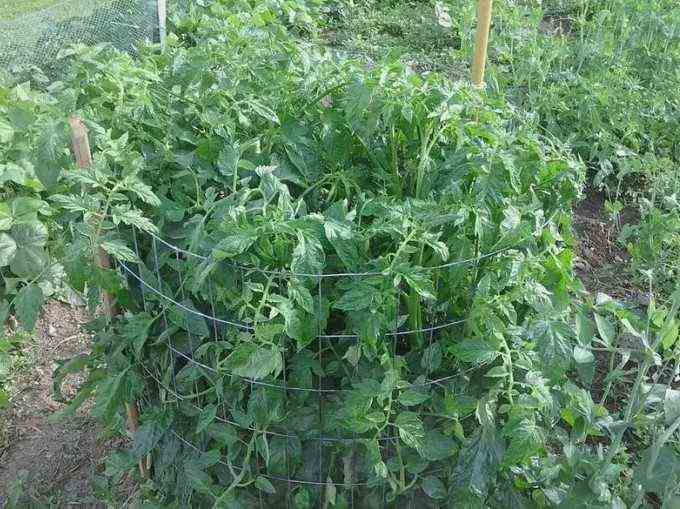
The wire mesh guardian
The wire mesh stake is also commonly referred to as a tomato cage. To use it, it is necessary to have sufficient space. Indeed, the minimum dimensions of a tomato cage are 60 cm in diameter and 1.50 m high. To achieve this, you need to equip yourself with sheep netting or wire netting. You just have to cut the desired dimension and make a tube that you will install on the ground. For better support, it may be preferable to anchor it to the ground. As the plants grow, they will become entangled in the wire mesh, making the use of ties almost unnecessary.
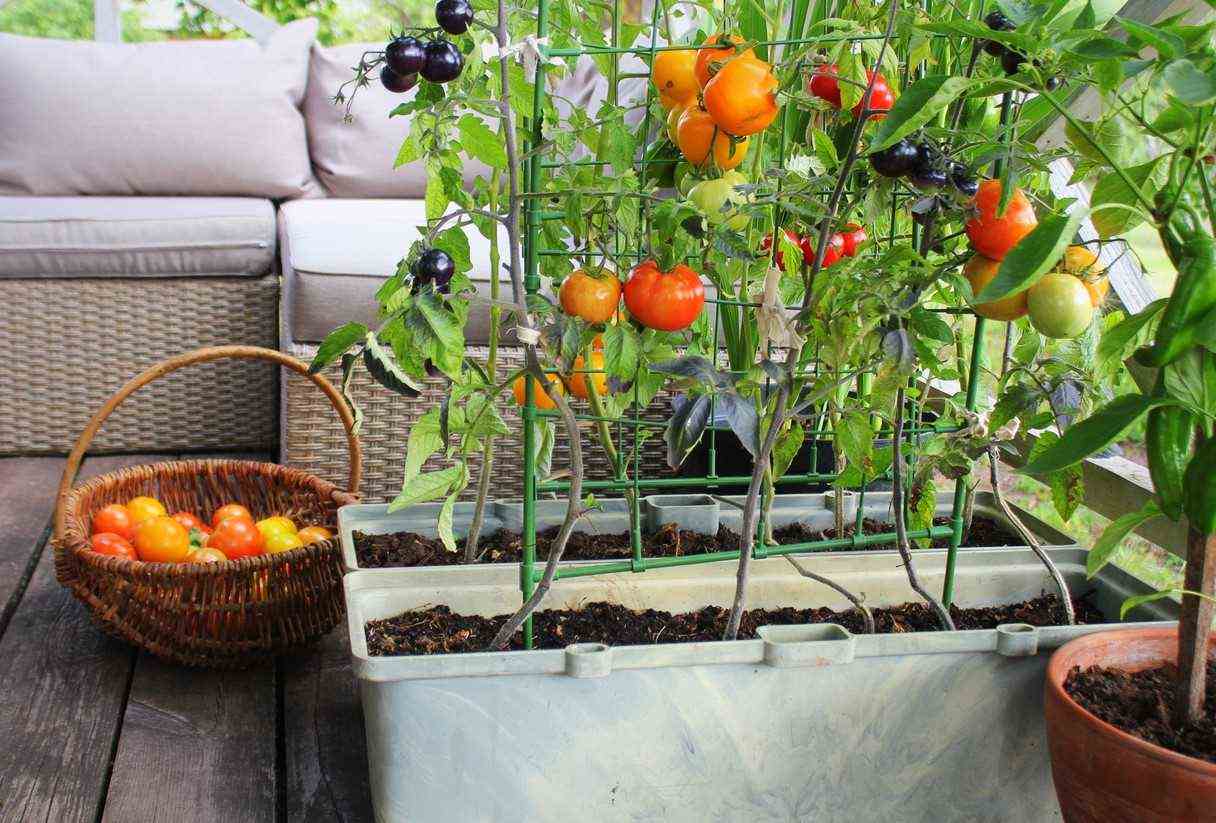
The trellis
In the same spirit as the tomato cage, the trellis is vertical. Instead, this solution should be chosen for potted tomato crops. The mesh should be installed directly on a wall. In addition to being practical, this solution is often quite aesthetic. Besides the ready-to-use trellis, it can be made with bamboo, branches, etc. It is enough to tie the stems together.
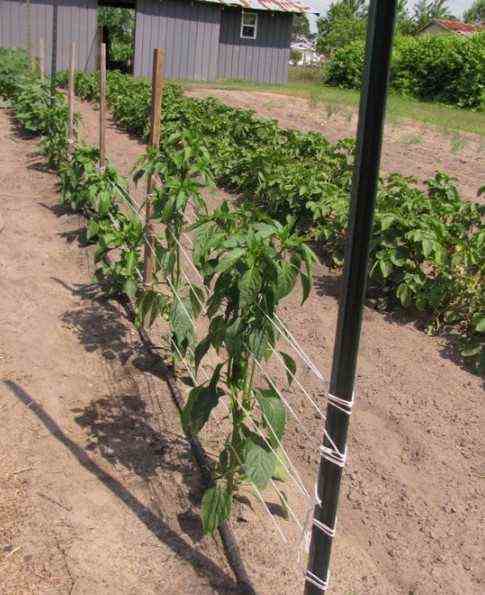
The rope
You can also very simply opt for a solution with strings. To do this, it is first necessary to plant poles or stakes sufficiently strong in the ground, keeping a distance of approximately 1.50 m between two poles. You must then stretch a rope from one post to the other, then hook to this rope 3 other threads which, for their part, descend to the ground and to which you can stake your tomatoes. More simply, it is also possible to pass doubled threads horizontally in which the tomato plants will be inserted.
Tie the tomato plant to the stake
Now that you have completed your tutor, you will need to attach your tomato plants to it as they grow. You will be exempt from this operation if you use a tomato cage. It could not be easier. Using a string, attach the stem to the stake in a figure eight: the stem of the tomato plant passes through a loop, we cross between the stem and the stake, then the stake is taken in another loop. Loops are formed by turning around the stem or stake. It only remains to tie a knot. Be careful not to over tighten or risk damaging the plant. The tie should even be a little loose to allow the stem to grow larger.