Halloween
Carving a pumpkin: With these tips you can create eerily beautiful grimaces
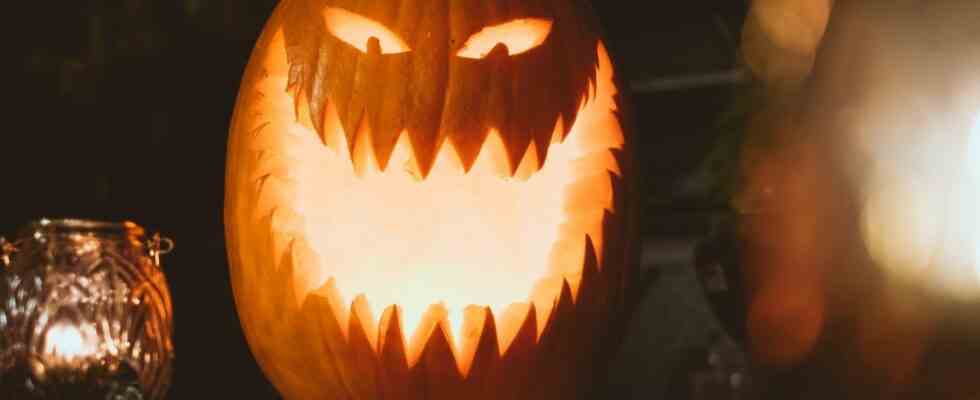
A Halloween pumpkin can look so eerily beautiful
© Benedikt Geyer / Unsplash

Halloween is celebrated around the world on October 31st. This is already making the little ones look forward to it. A carved pumpkin is needed to create the right spooky atmosphere. And that’s how it works.
In the US, people turn the spooky holiday into a huge spectacle. The fancier the costumes and decorations, the better. There are also many fans here in Germany. Children especially love to go around the neighborhood on Halloween night and collect sweets. However, the parents have to take care of the stylish decoration of the home. Right at the forefront: carving creepy faces into pumpkins. We’ll show you step by step how to conjure up the perfect grimace.
Step 1: Choose pumpkin
There are numerous types of pumpkins, the well-known ones are suitable for the Halloween variant Hokkaido pumpkins preferably. These gourds are a good size and stand stably on the ground. You can usually find Hokkaidos in every supermarket, at pumpkin patches or at weekly markets. If you have a pumpkin patch near you, buying the right Halloween pumpkin can make a fun family outing.
Step 2: Tools
Sharp knives or cutters from the craft store are suitable as tools. Small children should therefore not carve themselves and older children only under supervision. Note that only coarse grimaces are possible with conventional kitchen knives. If you have no practice or little tact, carving with classic knives can be difficult. So if you’d like to carve more delicate patterns and elaborate grimaces, just take one Pumpkin Carving Kit help. This makes the works of art easier and faster.
However, the choice of motif does not end with the classic grimace. There are also stencils that bring witches, mummies or skulls to life (e.g. in this one Stencil Set). If you are not using a carving set, you will also need a spoon to hollow out the pumpkin.

It’s that easy to carve a Halloween pumpkin
© Kelly Sikkema / Unsplash
Step 3: Carve the pumpkin
Only a few steps are necessary to carve the Halloween pumpkin.
- First, cut out a circular lid from the pumpkin. Make sure that you start at an angle towards the middle so that the lid cannot fall inwards later. Leave the style so you have a handy grip and the gourd is easy to open and close.
- For the next step you will need a hollowing tool. If you don’t have a carving kit, you can use a spoon. In the end, the pumpkin should still have one border about two to three centimeters thick feature.
- Depending on the time and work involved, you can choose different motifs. If you use a practical template set, you can simply stick it onto the pumpkin and cut out the appropriate areas. If you don’t have templates handy, you can water-soluble pens paint your own creations on the pumpkin. The pen guarantees that you can simply wash off the contours later and that no unsightly lines remain.
Tip: Before you start carving, you can pre-engrave the lines. This makes it easier and more precise to cut the pumpkin afterwards. Such tools are already included in the carving sets. Otherwise, you can use a thumbtack or pin.
Step 4: Preserve the pumpkin
You can also set up a Halloween pumpkin before the holiday. After all, the creations make children happy and are a great eye-catcher in the house and garden. The drier the pumpkin is, the less likely it is to mold. After carving, let the pumpkin dry. You can then apply a thin layer of Vaseline to the inside of the pumpkin or rinse it out with vinegar water. Hairspray is a good way to make the pumpkin more durable from the outside.

Step 5: Scary light show
The eerily beautiful pumpkin face only needs one last detail. The creepy pumpkins are particularly good as a light decoration. The grimace only really comes into its own when candlelight flickers through. Best use electric candlesso you can leave your Halloween creation unattended with peace of mind.
You might also be interested in:
This article contains so-called affiliate links. There is more information here.