Clean tiles
Cleaning joints in the bathroom and kitchen: This is how dirty gaps become clean again
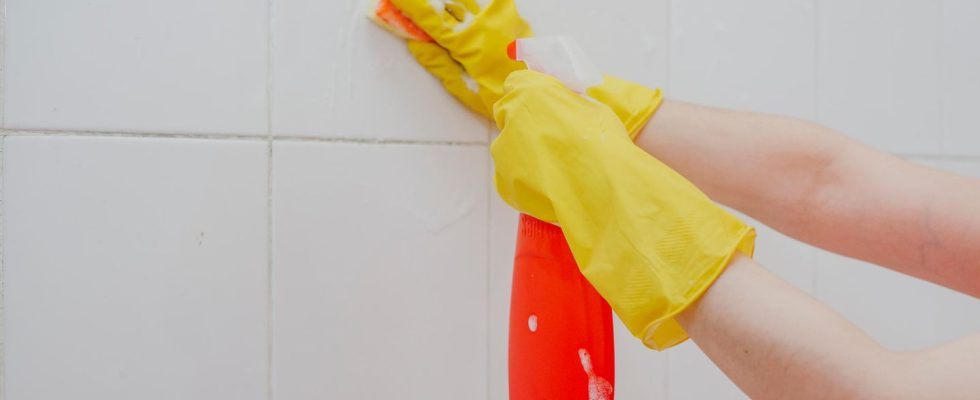
Dirt, mold and mildew can be removed more easily with a grout cleaner
© golibtolibov / Getty Images

Over time, lime, grease and dirt residue accumulates in the gaps between tiles. In the worst case scenario, mold can even form on it. This makes it all the more important to clean the joints in the bathroom or kitchen regularly.
Because of the constantly high humidity in the bathroom or particularly hard water, unsightly deposits build up on the joints, which provide an ideal breeding ground for mold. And even in the kitchen, the tiles are not safe from unsightly deposits: Here it is primarily grease and dirt residue that collects in the gaps when cooking. Unfortunately, these processes cannot be stopped, regardless of the room – but you can still clean the yellowed joints: either with a special cleaner or alternative (household) products. We’ll tell you what they are.
How to use a grout cleaner
A commercially available one Grout cleaner Usually contains alkaline and fat-dissolving ingredients to remove dirt residue, oily deposits, soap residue and – depending on the manufacturer – also mold from the gaps. To do this, the agent must be sprayed directly onto the joints and left to work for several minutes (depending on the degree of contamination). The gaps should then be cleaned with a sponge, cloth or brush to remove stubborn dirt. At the end, the joints are rinsed with fresh water and the entire process is repeated again if the result is not satisfactory.
Why a joint brush makes sense
Toothbrushes are often used for cleaning the joints. Their small bristles fit perfectly into the gaps and can therefore reach all deposits – but the effort is enormous if you want to clean an entire tile. Distributing a grout cleaner is much easier by hand with a special grout brush: it has more bristles than a toothbrush, is significantly larger and usually has a practical handle – like this model. Alternatively, you can also use the so-called Joint torpedo use, a special cleaning system that became known through the founders’ show “The Lion’s Den”.
And this is how the cleaning system works: The use of industrial diamonds, which act as abrasives, is intended to remove surface and deep-seated contaminants from the gaps. What this looks like in practice is explained in the following instructions.
- The system includes several grinding stones that have different widths – choose a bar that suits your joints.
- Slowly push the desired sharpening stone into the groove of the handle until the bar clicks into place.
- Carefully move the joint torpedo over the gaps, applying light pressure.
- Replace the grinding stone with the associated joint brush and clean the gaps.
- Waterproof the clean (and dry) spaces with a special one Joint protection pen.
Alternatives to the grout cleaner
Steam cleaner
Stubborn dirt can be removed from the joints using hot steam. To use this method you will need one Steam cleanerwhich you can operate by hand and thus treat individual joints selectively.
Dirt eraser
Actually it serves fine-pored sponge to treat stains on the walls, but can also be used as a joint cleaner – at least for slight discoloration in the gaps.
scouring milk
As the name suggests, this will cleaning supplies used for scouring. This makes it easier to remove stubborn incrustations caused by the small polishing particles, including those that form in the joints.
Important NOTE: Vinegar is a tried and tested home remedy that is often used as a joint cleaner. Please note, however, that not all surfaces can tolerate the acid – such as grout. The calcareous material would be attacked by the vinegar and become porous. For silicone joints, however, vinegar is very suitable for removing mold.
You might also be interested in:
This article contains so-called affiliate links. Further information are available here.