Work & design
Pour and paint plaster figures: this is how children create small works of art
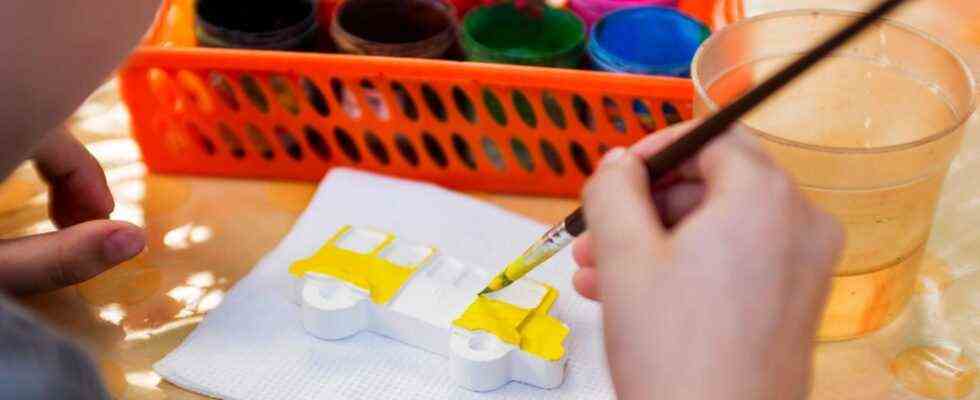
The plaster of paris is poured into a mold, hardened it can be painted
© Andrii Zorii / Getty Images
Millions of parents face the challenge of keeping their children busy every day, and not just since the corona pandemic. In addition to numerous play options, creative handicraft ideas for which you need few ingredients can be implemented in the apartment. Like pouring plaster figures, for example.
Before you can get started with your children, you first need all the materials from which the figures are made. And of course the corresponding molds in which the initially liquid plaster of paris has to harden. Here you can choose between different options: Either you buy a finished set that already contains all the ingredients and molds for the plaster figures. Or you can get the materials and templates for the figures (for example Butterflies or dinosaur) separately from each other. A third variant would be to buy only the plaster of paris and use ordinary household items for pouring – such as ice cube trays, biscuit cutters or sandpit molds made of silicone.
Material: This is what you need to cast plaster figures
If you decide on a ready-made creative set, it will contain the most important ingredients (including instructions). However, if you want to make the plaster figures yourself, you will need the following materials:
Another crafting tip: After you have painted the finished plaster figures and sealed them with varnish, you can make magnets out of them – for example, to hang them on the refrigerator. All you have to do is add the following accessories: small ones Magnets and a Hot glue gun including glue.
Instructions: How to make the plaster figures
Before you start casting the plaster figures, you need to mix the modeling clay in the correct proportion. Please refer to the instructions for use on the corresponding packaging. Once you have mixed the liquid plaster of paris, use the spoon to carefully pour it into the designated areas Molds as free of bubbles as possible up to the respective edge. Then let the figures dry in a warm and dry place for at least 24 to 48 hours (this always depends on the amount). Only when the plaster of paris has hardened properly can it be pushed out of the template without any problems – otherwise there is a risk that isolated spots will stick to it.
Fine tuning: These theses are important
After you have pushed the plaster figures out of the molds, you will very likely notice annoying corners, grooves or small bumps. However, these can be removed very easily (and carefully!) With a little sandpaper. Use a dry brush or a clean cloth to remove the fine dust that was created when smoothing the surfaces. Then you can start painting the plaster figures – acrylic paints are particularly suitable here. These are then sealed with a little clear varnish to make them more durable.
A tip at the end: As long as the paint is not dry, the small works of art can be combined with other accessories such as Glitter powder to be decorated.
You might also be interested in:
This article contains so-called affiliate links. Further information are available here.