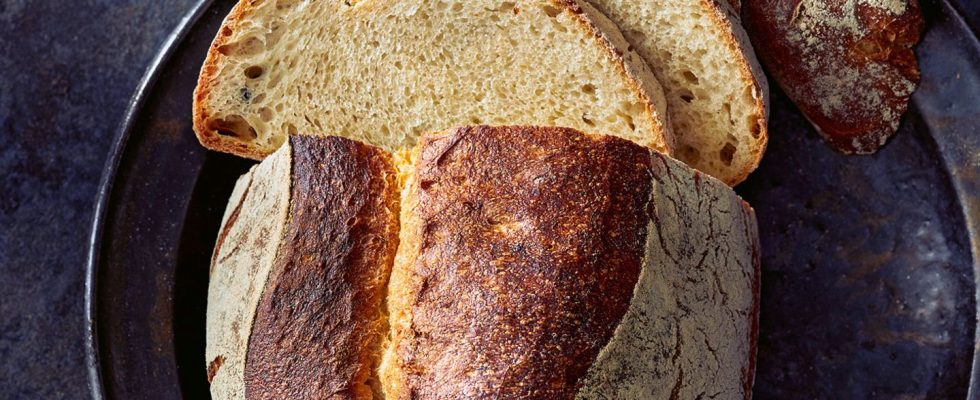
A freshly baked bread, some butter and a pinch of salt – life can be so simple and delicious at the same time. Nobody knows this better than Lutz Geißler, some call him the bread pope. He has made the science of crust and crumb his job. Several bestsellers testify to his expertise. With his book “The new bread baking formula” He now wants to turn even the last doubters into DIY bakers. To do this, he developed a basic dough that can be used to make 50 different types of bread. The highlight: Geißler’s baking formula means that the decision as to which bread it should be, whether baguette or wholemeal bread, only has to be made shortly before baking. We present four recipes to you in the photo series above.
Lutz Geißler’s new bread baking formula – the basic dough
Basic dough
For about 1 kg of dough
Ingredients
408g water
12g salt
6g sugar
6 g butter at room temperature
4.2 g fresh yeast
600 g wheat flour 550
That’s how it’s done
The general process and the most important steps at a glance.
1. Weigh ingredients into the bowl in the order listed.
Tip: Weigh in the additional ingredients sometimes specified in the individual recipes. Ingredients that cannot be combined homogeneously with the dough, for example nuts, fruits, olives, should only be added to the dough after mixing.
2. Mix by hand or by machine to form a homogeneous dough. Then mix in any chunky ingredients such as nuts, fruits or olives.
Tip: Use only one hand to mix so that the other hand can hold the bowl. If you have the desire and time, you can work on (knead) doughs that are particularly high in fat and sugar for longer so that the dough structure becomes more stable.
3. Cover the dough with a hood, lid or plate.
4. Place the dough in the refrigerator at 5°C for a minimum of 24 hours and a maximum of 72 hours.
Tip: It is also possible to let the dough ripen in the refrigerator for just 20 or even 80 hours. The important thing is that it shouldn’t be collapsed when you take it out.
5. After about 1 hour and after about 12 hours, take the dough out of the fridge and stretch and fold it intensively.
Tip: You should be fairly precise about the first hour, but whether you stretch and fold exactly after 12 hours or after 8 or 14 hours doesn’t matter for success. Do it the way that fits best into the process for you.
6. After 1, 2 or 3 days (or any time in between), take the dough out of the refrigerator, shape it according to the recipe instructions and place it in the designated shelf (proofing basket, cloth, loaf pan, etc.) to be cooked in pieces.
Tip: You can of course shape the dough according to your own ideas.
“Toast it!”
Great sandwiches: These recipes make sandwiches addictive
7. Let the dough piece or pieces ripen at room temperature (around 20 °C) according to the recipe instructions.
Tip: The feel of the dough is the be-all and end-all. At the beginning you should roughly stick to the time recommendations in the recipes or in the basics section of the book. However, it is much safer and appropriate for the respective recipe to take an individual look at the ripeness of the dough. Especially if the room temperature or the quality of the flour or yeast fluctuates. Your dough should have increased in size by a good half before it can be baked
8. Place the dough piece or pieces on baking paper (or place them in the hot cast iron pot) and bake in the oven. Depending on the recipe, you may need to make some additional cuts.
Tip: Always preheat your oven to the specified temperature. You can set the lower baking temperature immediately after inserting the dough or even a few minutes later. This allows you to regulate the desired browning of the crust. If you are not sure when the bread is finished baking, check the core temperature. It should be 96-98 °C (93-95 °C for sweet pastries).
9. Let the bread or pastries cool on a wire rack.
10. Eat the pastry on the same day or store it in a ceramic pot and maybe bake or toast it again for a crispy crust.
Tip: Freeze your baked goods immediately after they have cooled down. This means you can store your pastries for up to 6-8 weeks. To defrost, place frozen in the oven at 200 °C, bake the biscuits for 5 minutes and bread for 15 minutes, then turn off the oven and leave them in the oven for the same amount of time. Place the pastries on a wire rack and let them thaw for another 5 or 15 minutes. This means your pastries will look like they were freshly baked.
This photo series contains so-called affiliate links. Further information are available here.

