Instructions
Sewing grain pillows: These instructions make it easy for beginners
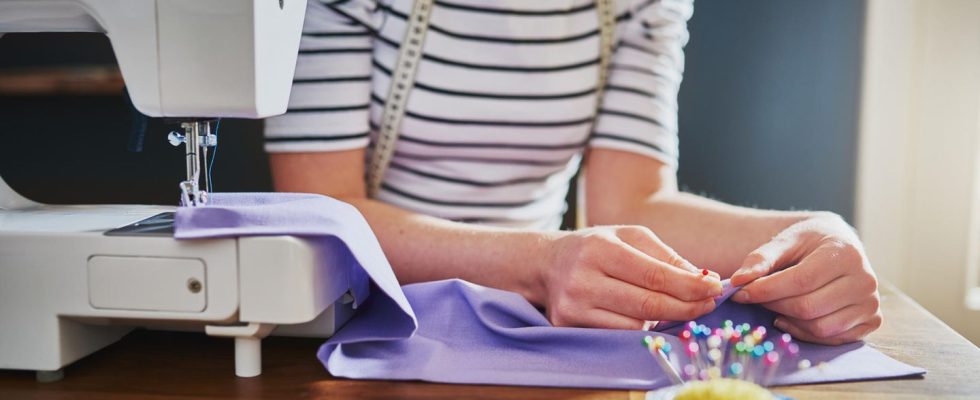
You can easily sew a grain pillow using a sewing machine
© FlamingoImages / Getty Images
Whether spelled or wheat, cherry stones or millet: If you want to sew a grain pillow, you can choose the filling yourself. The following instructions will help you step by step.
In contrast to an ordinary hot water bottle, grain pillows have the advantage that they cannot leak. In addition, they nestle perfectly against the body thanks to their loose filling – which can be heated or cooled. Most people therefore primarily use them to relieve physical complaints such as headaches and back pain, tension and sore muscles, colds and menstrual cramps. Most Grain pillow are made from spelt, buckwheat, cherry or grape seeds and are rectangular or crescent-shaped. However, the fillings and materials used do not always meet personal requirements, so many interested parties simply sew their own spelled pillow, for example. How this works best is summarized below for you.
Sewing instructions for grain pillows – step by step
The most important thing in advance: Only use natural materials such as cotton or linen for the pillowcase, as artificial fibers can catch fire if you heat them later. For the filling you can Spelt or wheat, oats or millet, Cherry– or grape seeds use. Overall, you need the following accessories for a rectangular grain pillow:
If you have a simple grain pillow If you want to sew (without chambers), proceed as follows:
Cut the fabric to the desired size – it doesn’t matter whether you choose a rectangular or square shape. The only important thing is that you always cut two pieces of the same size that will later be placed on top of each other. Also consider the seam allowance, i.e. an additional distance between the seam and the cut edge, which must be taken into account.
Now place the two cut pieces with their respective outer sides (i.e. the sides with the pattern) on top of each other and pin the edges on three sides at regular intervals using the pins. Be sure to leave one side open so that you can fill the grain pillow later. Of course, the amount of grains always depends on the size of the pillow.
Using the sewing machine, sew the three pinned sides closed one after the other and then turn the fabric inside out so that the sides with the pattern face outwards. Now it’s the turn of the grains: Fill the pillow so that it is not too full – and the fourth and open side can still be sewn shut without any problems. It is important that the grains remain free-flowing.
If you have a rectangular Grain pillow with chambers If you want to sew, proceed as follows:
A ready-to-sell grain pillow It often measures 50 by 20 centimeters, so you can use that as a guide – but the size can vary if, for example, you want a smaller pillow. Here too, cut two lengths of fabric of the same size (including seam allowance).
Place the two pieces on top of each other, right sides together (as described above) and then sew only three sides – one long and the two short ends. Now turn the cushion cover inside out again so that the pattern can be seen on the outside.
To make it easier for you to sew up the open side at the end, it is advisable to fold the fabric in at least a centimeter and iron it over the edge. Then pin the individual chambers with the pins and sew them single or double.
Now you can fill each chamber with the desired grains (here we recommend always using the same type in each chamber) – again in such a way that the fabric does not stretch. Last but not least, sew the open side closed with a double seam.
How to warm and cool your grain pillow
After you have sewn your grain pillow, you can place it in the 100 degree oven to warm it up for five to ten minutes. Larger pillows even need a little more time to warm up – plan on ten to 15 minutes. In any case, be careful not to let the grains get too hot to avoid burning your skin.
Do you have a microwave, you can also heat the grain pillow in it. Two or three minutes are usually enough for the kernels to reach a comfortable temperature. If you would rather use the grain pillow for cooling, you just have to put it in the fridge for an hour – or briefly in the freezer, ideally wrapped in a plastic bag.
You might also be interested in:
This article contains so-called affiliate links. Further information are available here.


