Security
How to encrypt external data carriers
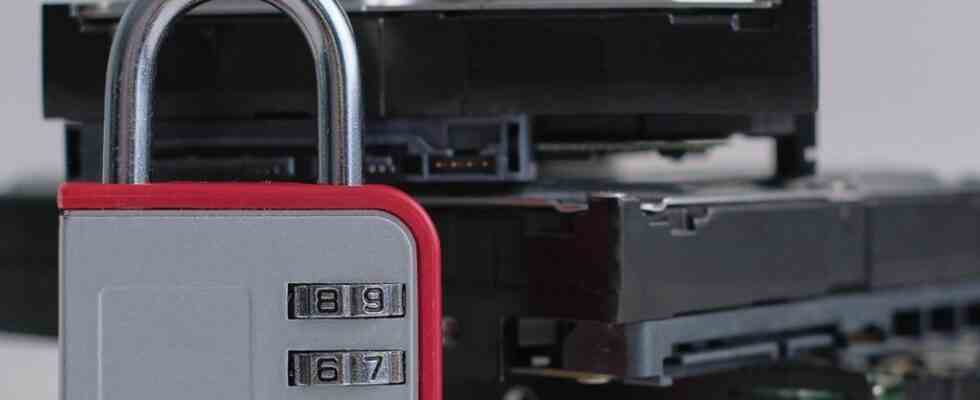
Sensitive data on hard drives, memory cards or USB sticks should be protected with a password.
© Yavdat/Shutterstock.com
Protecting data on a USB stick or hard drive is important – at least in the event of loss. How to protect them with a password.
Photos, videos, texts or important documents – nowadays we store all of this digitally on our hard drives, USB sticks or memory cards. To be on the safe side when archiving files, users should not only create regular backups of their files, but also encrypt this data. How to protect your digital treasures with a password.
In order to protect yourself against unwanted access to your data carrier, the first question to be asked is what operating system is used on the computer or laptop. Current versions of Windows, iOS and Linux allow you to encrypt external data carriers with a password – albeit with certain restrictions. In this case, third-party software makes the encryption possible, and in some cases it is also available from the manufacturers of the storage media.
Password protection on Windows devices
In the Pro, Business and Enterprise versions of Windows 10 and Windows 11, password protection of an external hard drive or USB stick is extremely easy. To do this, connect the storage medium via USB and access it via the file explorer. Right-clicking on the medium gives you the option “Enable Bitlocker”, which is important to run with administrator rights. A window will then open in which you can enter your password and confirm it by repeating it. There is also the additional security option of ticking “Use smart card to unlock drive”.
In the next window you can decide how the recovery key should be saved. This is necessary to restore the data if the password of the data medium is forgotten or lost. Once you have decided on an option, the next step is to choose whether the entire drive or only the currently occupied storage space should be encrypted. Windows recommends the former for newer devices and the latter for older ones. In the fifth step, you decide on the encryption mode. Windows recommends which option is the right one for which user. Finally, start the encryption and wait patiently, because the process can take several hours.
Password protection on Windows devices without a TPM chip
If the process does not start and the message appears that the device does not have a TPM chip (Trusted Platform Module), another trick is necessary. In the “Run” window (Windows key + R) enter the term “gpedit.msc”, then the “Editor for local group policies” window opens.
There you navigate to: Computer Configuration > Administrative Templates > Windows Components > BitLocker Drive Encryption > Operating System Drives. Double-click “Require additional authentication at startup” in the list on the right. A window opens in which you tick “Allow BitLocker without a compatible TPM module”. Finally, make sure that the “Do not allow TPM” option is selected for “Configure TPM startup”. After clicking “OK”, the BitLocker works as described above.
BitLocker is not integrated in the home versions of Windows 10 and Windows 11, in this case third-party software is used. Programs such as “AxCrypt”, “NordLocker” or “VeraCrypt” have proven themselves for many users. All three programs are compatible with Windows and Apple devices, “AxCrypt” and “NordLocker” also with Android.
Password protection on macOS
Apple provides one detailed instructions for password protection on the different macOS platforms High Sierra to Ventura. You should pay particular attention to the fact that the storage medium can only be password-protected with the hard disk utility if the data medium has been formatted beforehand, i.e. all data has been deleted. Accordingly, a backup of all data should be made before setting up the password.
However, if the storage medium is already in the correct file format, just click on the stick or hard drive in the Finder to select the “[Name des Mediums] encrypt”. Then only the password and a reminder need to be entered before the encryption process starts, which can take some time depending on the amount of data on the medium. Users should note that as a result of the encryption, the ejection of the medium in the future takes a little longer and don’t pull it off hastily.

