Sinking ship
Repair inflatable boat: How to patch small holes and tears
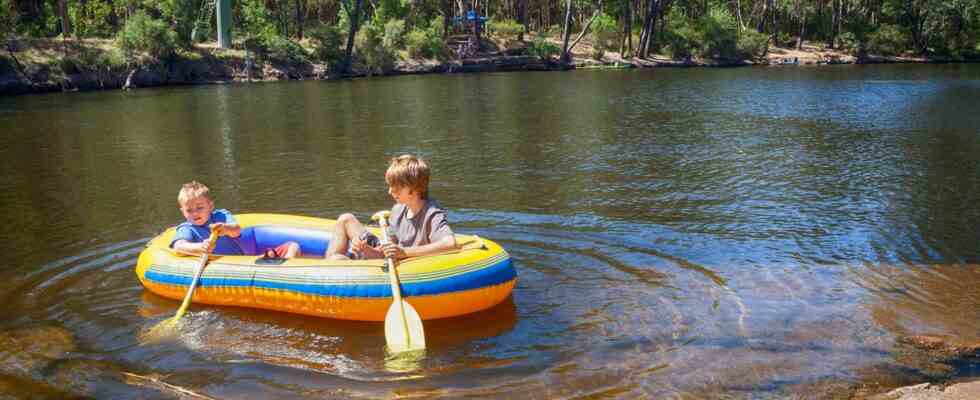
With the right tools, a broken inflatable boat can be repaired
© tap10 / Getty Images
Many a planned paddling tour ends prematurely when the rubber dinghy leaks and water gets in. You should always have a repair kit on board so that you can mend small tears or holes more quickly on the go.
If the inflatable boat has already spent one or two winters in the basement or in the attic, it is not uncommon for the materials to have become brittle over time – and weld seams to come loose. But even a brand new model could well break during a paddling tour, for example due to sharp objects lying on the bottom or floating in the water. However, since only a few take the trouble to check an inflatable boat for possible holes in advance, these are only noticed on the way. And that can be really dangerous if the occupants are not (yet) able to swim or the nearest shore is far away. It is all the more important to take a repair kit on board in case of an emergency.
Repair kit for inflatable boats: That should be in there
A classic repair kit for inflatable boats is primarily intended to mend small holes and tears in the material as quickly as possible – on land or on the water. It contains several components, such as an adhesive and various patches. It is important to know: Depending on the materials from which the inflatable ship was made, the repair kit should be chosen accordingly. In other words, for a PVC inflatable boat, for example, you need a PVC repair kit. Otherwise, the glue or patches may not stick to the material. It is also advisable to keep a pair of scissors in the repair kit to cut the patches.
Repair inflatable boat: instructions for patching
If you discover a hole or tear in the material, you have to repair the dinghy. Proceed step by step:
- Mark the spot where the air comes out of the boat.
- Cut off the excess edges of the hole with scissors.
- Make sure that the area is dry and free of dirt and grease.
- Cut the patch – it needs to be slightly larger than the hole.
- Put the glue on the patch and press it onto the hole.
- Wait at least five minutes for the glue to dry.
Another note: Depending on the glue and materials, it may be necessary to roughen the hole with some emery or sandpaper. Pay attention to the manufacturer’s instructions on the adhesive packaging.
Tip: How to patch holes without a repair kit
If the inflatable boat is made of rubber and you don’t have a repair kit handy (on land), you can use a simple trick – all you need is an old bicycle inner tube: Instead of gluing a patch to the leak, cut a piece out of the inner tube and fasten this over the hole with a repair glue (there is a special for PVC Liquid). Alternatively, you can use a patch from the bike repair kit if you have one. However, as always, pay attention to the material of the inflatable boat.
Prevention: How to avoid holes and tears
So that you don’t have to repair your inflatable boat in the first place, you can take preventive measures such as:
- Store your inflatable boat outdoors under a tarpaulin, as animals running or flying around could tear holes in the material.
- Do not push the boat into the water over the rocky bottom, but lift it up first to carry it to the nearest lake.
- Be careful not to leave any sharp objects lying around in the boat that could pierce the material, such as a knife.
- Take off your shoes before boarding the boat or check the soles if there are any sharp stones stuck in them.
You might also be interested in:
This article contains so-called affiliate links. Further information are available here.