handicraft fun
That’s why ironing beads encourage children’s concentration and creativity
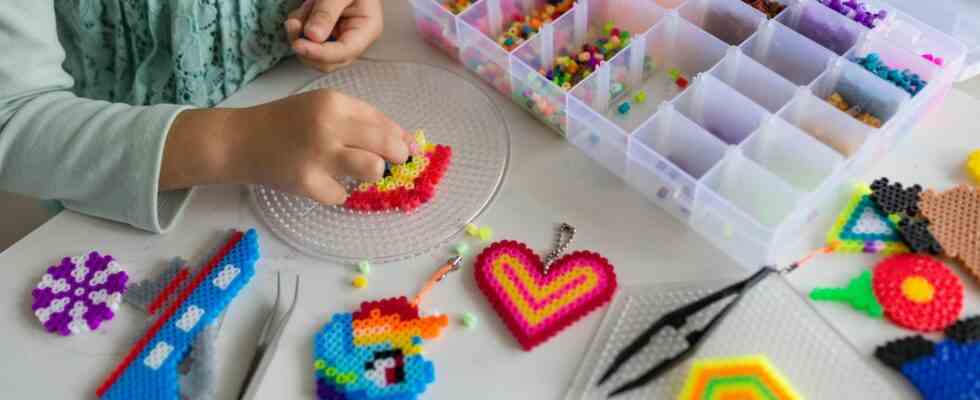
Many creative and colorful motifs can be conjured up from ironing beads
© Alina Buzunova / Getty Images

The invention is so simple and yet of great value: small plastic nups that are hollow on the inside so that they can be placed on a plate designed for this purpose. When put together, the ironing beads create a colorful motif. However, getting there requires a lot of perseverance and patience.
Did you know that the cylindrical tubes have been around since 1971? Malte Haaning from Hama, one of the leading manufacturers of fuse beads, was the first to include the midi size in his range. Smaller and larger variants followed later. In the meantime, numerous companies have followed suit and also produce the popular plastic beads. But what exactly makes them so valuable for children and how exactly do they merge into a total work of art? We have compiled the most important facts for you.
Mini to maxi: This is where ironing beads differ
Contrary to what one might think, the mini pearls are not suitable for small children. Since they have a diameter of just 2.5 millimeters, it takes a lot of tact and fine motor skills to craft them iron-on patches. If you would like to give your offspring a taste for it, we recommend starting with Maxi Pearlswhich have a diameter of ten millimeters – and are therefore suitable for children from the age of three. Midi Beads on the other hand, can be handled by children from the age of five, while mini beads are only recommended from the age of ten. The ironing beads are so small that it is very difficult to put them on the plates with your hands. For this reason, tweezers are used for this size.
! Warning ! Never leave a toddler alone with the fuse beads as they can be easily swallowed.
More endurance: This is how iron beads affect children
Ironing beads are – especially in the Corona period – a nice and meaningful activity for children. But what is even more important: You have a positive effect on the development of your offspring. In addition to the motor skills that are promoted when doing handicrafts, the beads have an effect on the ability to concentrate. The educational toy makes your kids come into contact with different colors and shapes that they need to distinguish from each other. They can thus let their creativity run free without noticing how their patience is being tested and developed. Playing with fuse beads thus has a valuable benefit for children (and thus, of course, for their parents).
Ironing bead ideas: templates for young and old
Yes, you read it right. Ironing beads not only delight children, but also one or the other adult. For this reason there are not only motives with hearts or stars, horses and fire trucks for rebuilding. The market is now so huge that craft enthusiasts can try their hand at ironing bead ideas that are modeled on great works of art – such as the famous one starry night or Van Gogh’s Sunflowers. For children, on the other hand, there is a large selection of different shapes and motifs that have to be put together.
There are either special templates that are placed under the plug-in boards and serve as orientation. Or you use special ones pegboards, the shape of which was modeled on the motif to be laid with the beads. However, if you have your own pictures in mind or if your children want to make their own motifs, you can also buy a colorful mix of different ironing beads. The ones needed for this plates can also be purchased separately. And how exactly does the ironing work afterwards? You will find out in the next paragraph.
Instructions: This is how beads are made into iron-on transfers
When you or your child have finished a motif and want to capture it for eternity, the iron is used. Don’t set it too hot to avoid damaging the pearls – a medium temperature is recommended. Before you start ironing, be sure to get a sheet ironing paper (alternatively normal baking paper works) on the finished picture, otherwise the beads would stick to the iron. Iron only briefly (maximum 15 seconds) in circular movements and with little pressure over the motif and then let the ironing beads cool down before you remove the picture from the plug-in board. Another tip: weigh the picture down with a light book for a better result.
! Warning ! Never leave your child unattended with a hot iron.
You might also be interested in:
This article contains so-called affiliate links. Further information are available here.