Introduction to Azure AI Services, Part 2
Image classification via the Azure AI Vision SDK with C#
Providers on the topic
Azure AI Vision is an artificial intelligence that enables software systems to interpret visual input by analyzing images. In this little tutorial we want the service for analysis
(Image: Microsoft)
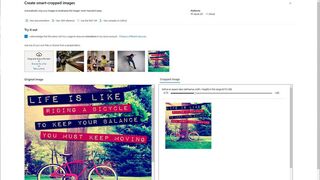
In Microsoft Azure, the Azure AI Vision service provides pre-built models for common visual tasks, including analyzing images to suggest captions and tags, and recognizing common objects and people. The service can also be used, among other things, to remove the background from images or to generate a thumbnail from the content relevant to the image.
For this example we use Visual Studio Code, which is available from Microsoft GitHub Learn repository for AI-Vision can be easily cloned. Any folder on the computer serves as the target. It is then possible to open the cloned repository locally.
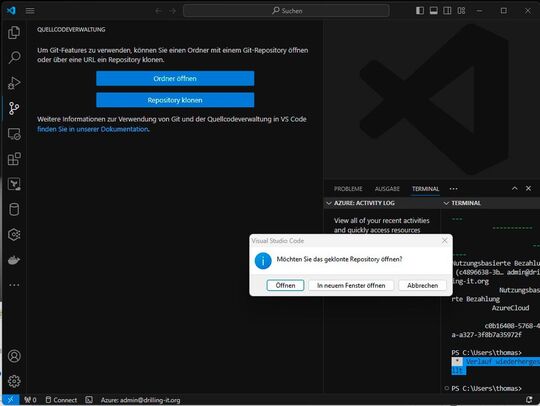
(Image: Drilling / Microsoft)
In the following example, we complete a partially implemented client application from the mentioned repository that uses the Azure AI Vision SDK to analyze images. The SDK can be used either in C# or Python, we use C#.
(Image: Drilling / Microsoft)
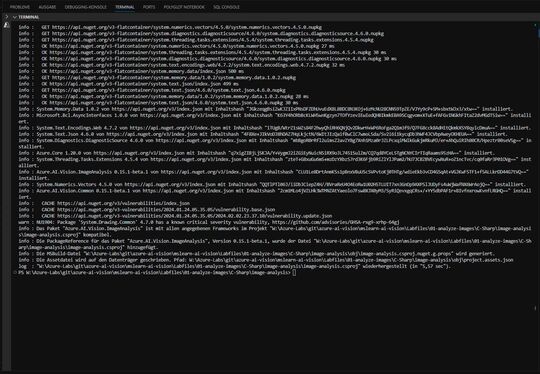
First, in Visual Studio Code, we navigate to the Labfiles/01-analyze-images folder in the Explorer pane and expand the C-Sharp folder. Right-click on the “image-analysis” folder to open it with “Open in integrated terminal” in the VS Code terminal. Now let’s install the Azure AI Vision SDK package for C# with…
dotnet add package Azure.AI.Vision.ImageAnalysis -v 0.15.1-beta.1
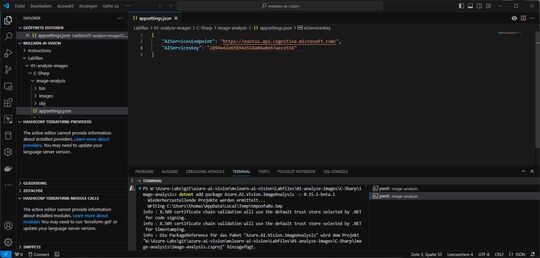
(Image: Drilling / Microsoft)
The folder contains a JSON configuration file “appsettings.json” for C#. We update the configuration values contained therein with the “endpoint” information and an “authentication key” of the “Azure AI Services” resource used and save the adjustments.
(Image: Drilling / Microsoft)
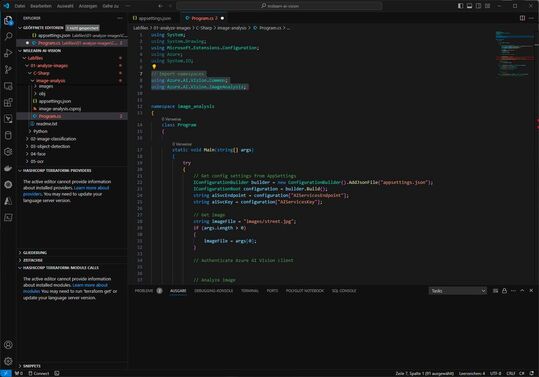
The folder also contains a code file “Program.cs” with a client demo application. We open the code file and look for the comment “//Import namespaces” at the top among the existing namespace references. Here you need to add the following lines of code to import the namespaces required to use Azure AI Vision SD. We then save the file.
using Azure.AI.Vision.Common;
using Azure.AI.Vision.ImageAnalysis;
(Image: Microsoft)
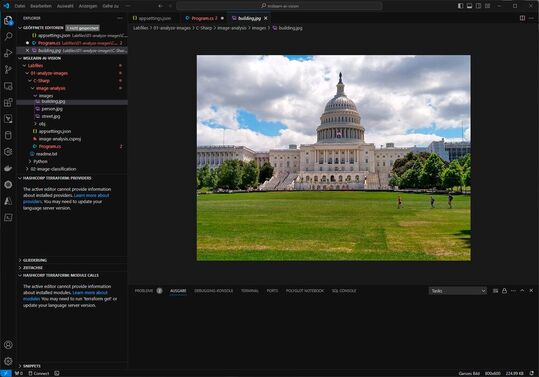
In this example, we use the Azure AI Vision service to analyze images. In Visual Studio Code, we expand the image-analysis folder and the images folder within it, which contains three images. It is important to check whether the images are displayed correctly in VS Code.
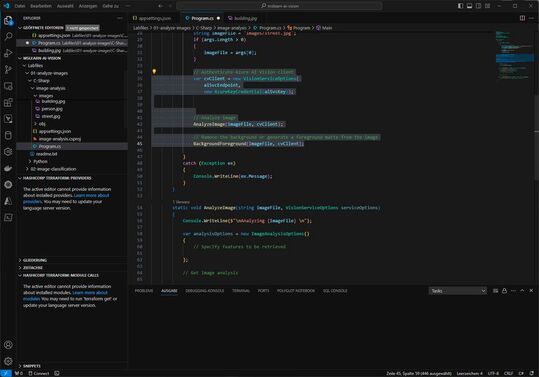
Now it is possible to use the SDK to call the Vision service and analyze an image. The code file for the client application (Program.cs) must ensure that the code for loading the configuration settings has been provided via the Main function. Under the comment…
// Authenticate Azure AI Vision client
…let’s add the following code segment:
var cvClient = new VisionServiceOptions(
   aiSvcEndpoint,
   new AzureKeyCredential(aiSvcKey));
(Image: Drilling / Microsoft)
It is important to note here that the code in the Main function below the code you just added specifies the path to an image file – and then passes this to two other functions (“AnalyzeImage”) and (“BackgroundForeground”), which are currently are not yet fully implemented.
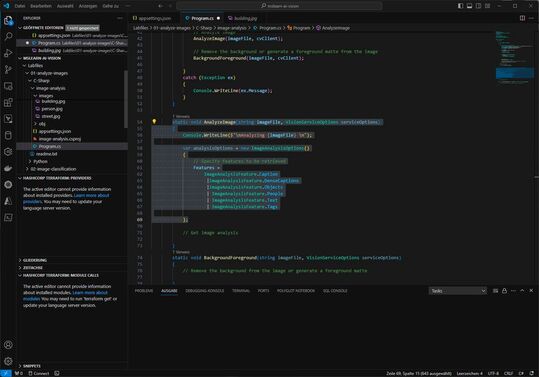
Within the prepared body of the AnalyzeImage function, we add the following code under the comment “//Specify features to be retrieved”:
Features =
   ImageAnalysisFeature.Caption
   | ImageAnalysisFeature.DenseCaptions
   | ImageAnalysisFeature.Objects
   | ImageAnalysisFeature.People
   | ImageAnalysisFeature.Text
   | ImageAnalysisFeature.Tags
(Image: Drilling / Microsoft)
In addition, within the prepared body, we extend the “AnalyzeImage” function under the “//Get images analysis” comment with the following code:
// Get image analysis
using var imageSource = VisionSource.FromFile(imageFile);
using var analyzer = new ImageAnalyzer(serviceOptions, imageSource, analysisOptions);
var result = analyzer.Analyze();if (result.Reason == ImageAnalysisResultReason.Analyzed) {
// get image captions
if (result.Caption != null) { Console.WriteLine(" Caption:");
Console.WriteLine($" \"{result.Caption.Content}\", Confidence {result.Caption.Confidence:0.0000}");
} //get image dense captions
if (result.DenseCaptions != null) {
Console.WriteLine(" Dense Captions:");
foreach (var caption in result.DenseCaptions) { Console.WriteLine($" \"{caption.Content}\", Confidence
{caption.Confidence:0.0000}");
}
Console.WriteLine($"\n");
} // Get image tags
// Get objects in the image
// Get people in the image
}
else {
var errorDetails = ImageAnalysisErrorDetails.FromResult(result);
Console.WriteLine(" Analysis failed.");
Console.WriteLine($" Error reason : {errorDetails.Reason}");
Console.WriteLine($" Error code : {errorDetails.ErrorCode}");
Console.WriteLine($" Error message: {errorDetails.Message}\n");
(Image: Microsoft)
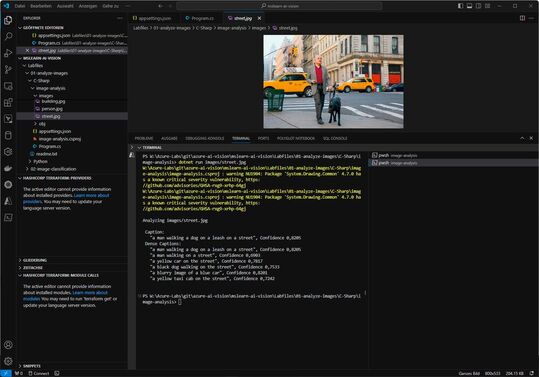
After saving the changes, we return to the built-in terminal for the image analysis folder and enter the following command to run the program e.g. E.g. with the argument “images/street.jpg” from this folder:
dotnet run images/street.jpg
The prerequisite is that the required .NET 7 runtime is installed. The result should look something like the previous image. As mentioned above, all code fragments come from Microsoft’s freely accessible Learn repository for AI vision.
This small example serves primarily as a stimulus for further experiments. There are also other code examples on the linked page, e.g. B. to locate and identify certain individual objects within an image or to recognize people in an image.
In the next part of this short series, we will demonstrate how programmers can use AI functions to automatically crop the foreground of an image.
(ID:49972506)

