Transform a pumpkin into a vase: instructions
To transform your pumpkin into a vase, you will have to dig it more or less, depending on the type of bouquet you want to place there. For this, you need two basics:
- A pointed knife, with a fairly long and well sharpened blade;
- A spoon (solid!).

To garnish your vase, you have the choice between seasonal flowers purchased from your florist or collected in the garden, succulents or even pretty branches collected from the forest. Don’t hesitate to also bring some moss to add the final touch to your bouquet! Also think about apples, seasonal fruits that perfectly complement a bouquet.

Additional supplies must be adapted according to your project:
- A glass Mason Jar, or a tin can to place a bouquet of fresh flowers;
- A piece of floral foam to stick dried flowers (or fresh flowers for an ephemeral floral arrangement, such as a centerpiece), which is always lined with a piece of waterproof plastic.

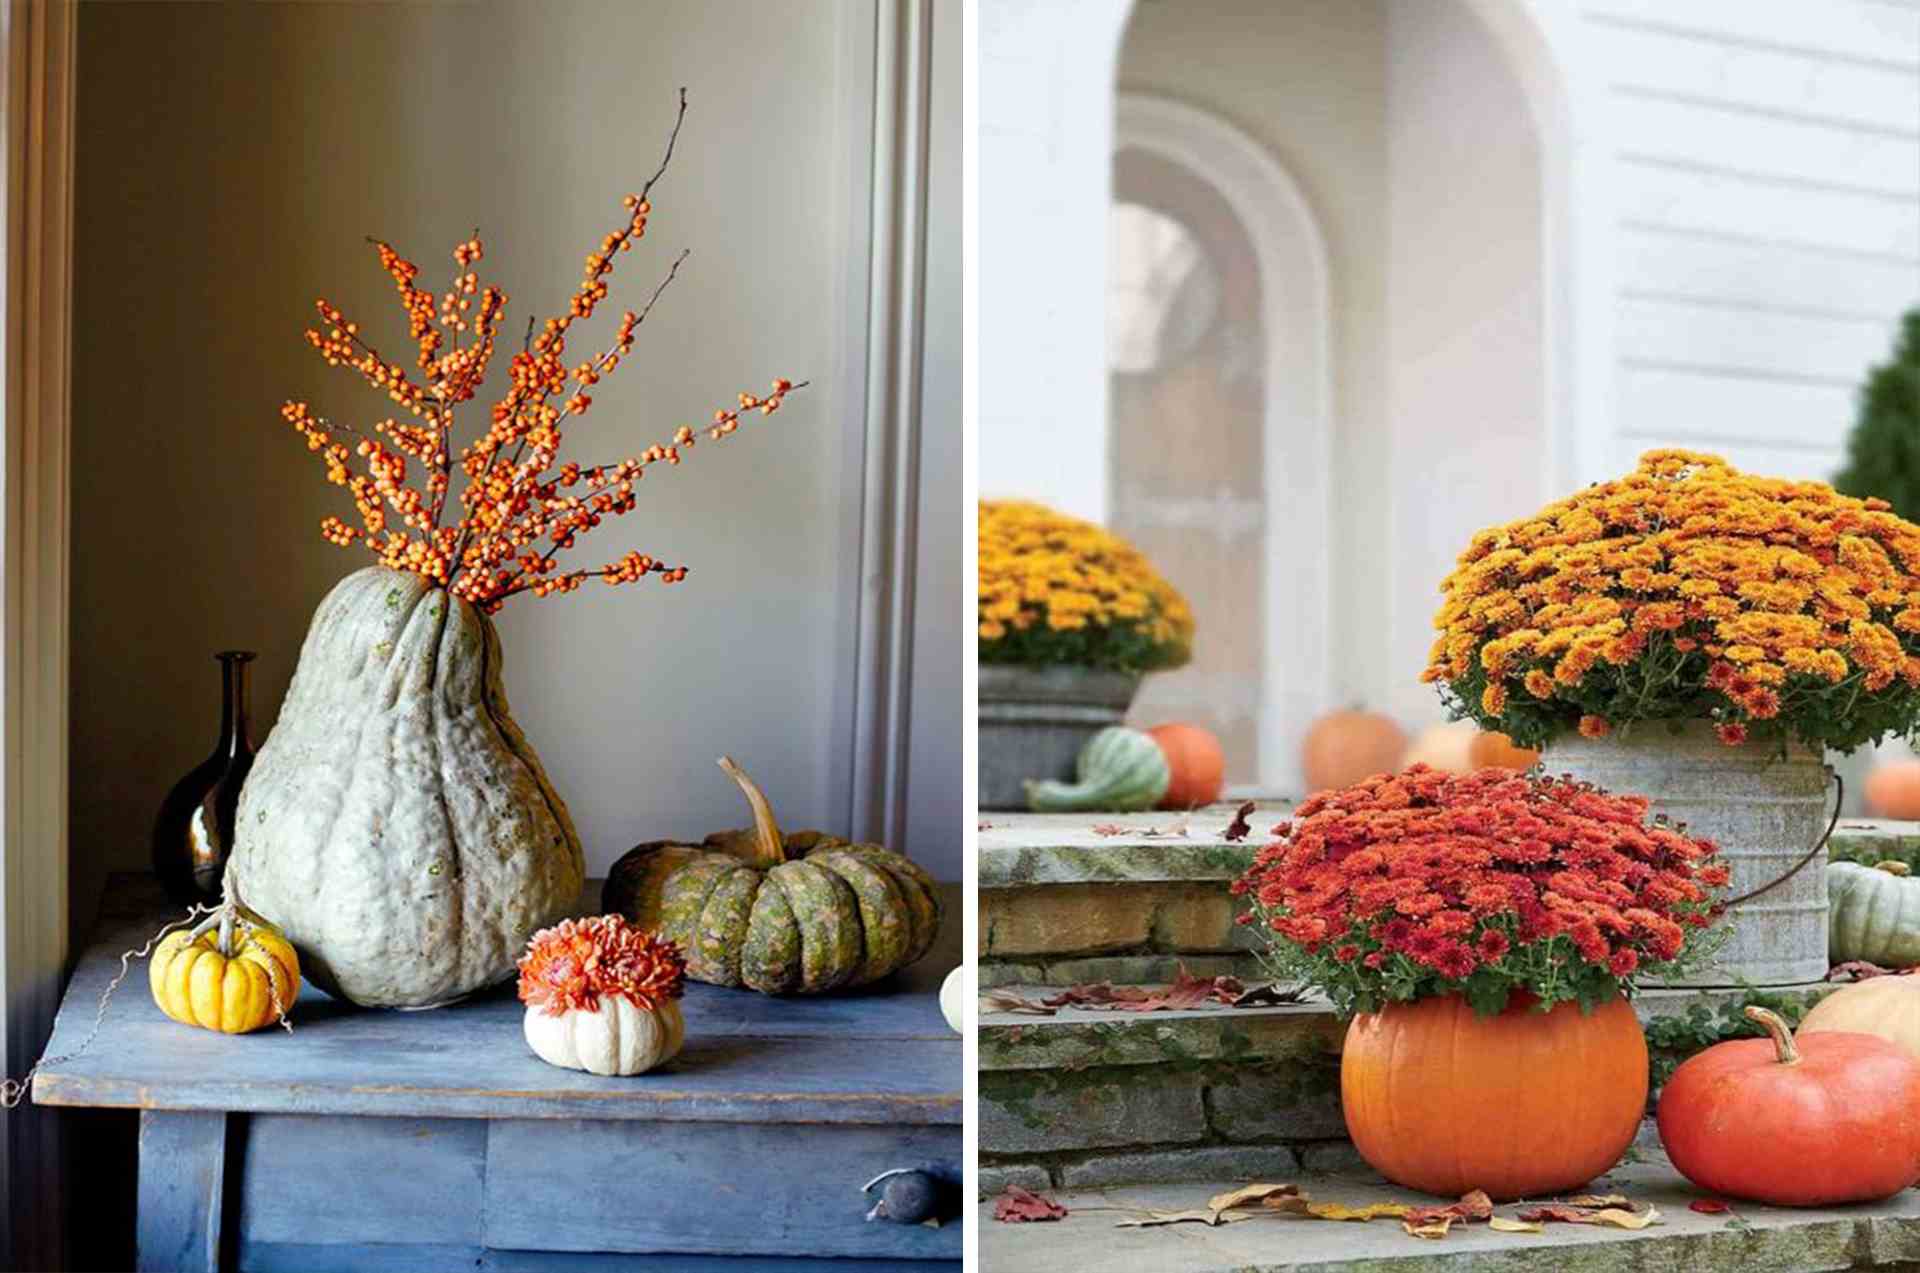
In the case of an XXL pumpkin, you can consider a traditional flower pot – great for keeping your flowers for a long time. Then think about chrysanthemums, which will bring a touch of color to a scary (or not) Halloween outdoor decoration.
To turn your pumpkin into a vase, it only takes 3 simple steps:
- Cut the top of the pumpkin using your knife;
- Remove the seeds and flesh from the pumpkin using your spoon;
- Install the container or piece of floral foam (immerse it in water beforehand if you plan to stick fresh flowers in it).

However, you can add an intermediate step to customize your pumpkin by painting or carving it.
Remember to save the flesh of your pumpkin to make a pie, a gratin or any other fall recipe you like! There are also many anti-waste tips for using seeds.

Maybe you cut the top of your pumpkin perfectly? In this case, keep it carefully: this “hat” will perfectly accessorize your bouquet!
To make your vase a success, let the pumpkin dry for 12 to 24 hours before using it as a vase. To limit the risk of mold, you can also use a grandmother’s tip: apply lemon juice inside.
How to transform your pumpkin into an original vase?
Pumpkin or butternut, small model or giant cucurbit are sufficient in themselves to take the place of a vase. However, you can decorate them to give them more personality.

Team nature, forget the traditional bouquet, and transform your pumpkin vase into a terrarium-style composition!

Transformed into a vase, the pumpkin is just as stunning as a centerpiece as it is on the window or on the living room table. It’s up to you whether you just place a simple bouquet there, or whether you add a spooky touch: skulls, spiders, ghosts or bats.

Want contemporary decor? Opt for a Snowball pumpkin, a variety that stands out for its white color and very round shape. Arm yourself with a marker, and reinterpret the face vase in a Halloween version!

The gilding leaf is applied using a brush and a gilding mixture (or glue). Here is the perfect technique to enhance your pumpkin vase!

Digging the pumpkin to turn it into a vase is one thing. Customizing it, on the other hand, seems beyond your artistic skills? Don’t panic: a pot of white glue, a brush, scissors and pretty images or paper napkins make it very easy to customize your pumpkin vase!