Gardening tips
Cutting boxwood: The gardener’s little art
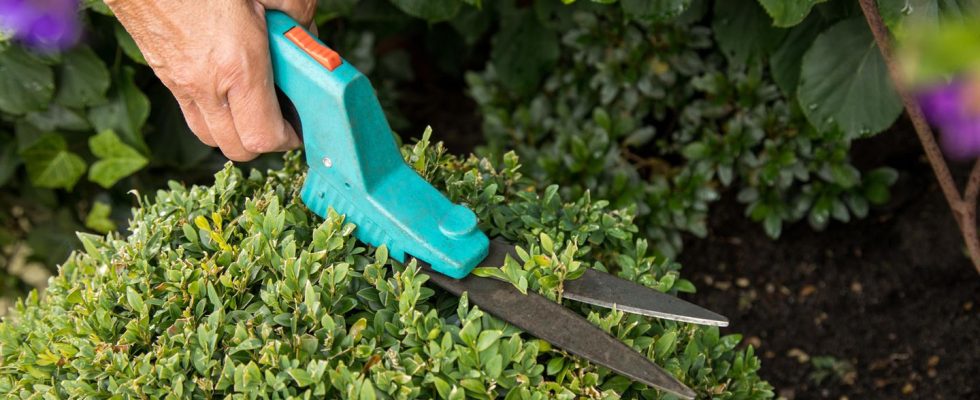
Cutting boxwood requires a bit of skill and a sense of proportion as well as a touch of creativity.
© Christin Klose / Picture Alliance

Boxwood decorates many German front gardens as mighty balls, elegant spirals or proud pyramids. Here we reveal how to keep the evergreen shrub in shape and what mistakes you should avoid.
Gardeners are rarely referred to as artists. There are always jobs that need to be done in the countryside that require not only some manual skills but also a pinch of creativity. It may sound a bit strange: But with large hedge trimmers in hand, many allotment gardeners become little artists every summer. And in doing so, we emulate the ancient Romans, who framed their garden beds with boxwood more than a thousand years ago and kept it in precise shape. The evergreen and robust boxwood has now conquered gardens, parks and front gardens all over the world. And with its often extravagant cut and creative shapes and figures, it puts many of its peers in the shade.
But when should you cut a boxwood and what else should you pay attention to? The star clarifies.
The best time for rough and fine cutting
Like most hedge plants, the boxwood is a robust regenerative artist. In other words: He doesn’t mind if you bother him with the hedge trimmer several times a year. If you want to make an impression with a creative book over the summer, you should get your hands on it for the first time in spring at the latest. It is important that the shrub has not yet formed any new shoots. This rough cut gives the boxwood the shape it should have in summer.
When it comes to fine-tuning or fine-cutting, you should wait until the beginning of May. In most regions of Germany, the new shoots are already a few centimeters long. Ideal for giving the evergreen shrub a stylish spring look. There is a simple rule for the time afterwards: the more detailed the boxwood figure, the more frequently it should be trimmed.
Important: Cut despite all the euphoria never more than two thirds of the fresh shoots.
Anyone who has bordered their garden with a boxwood hedge can still put their feet up in spring. Experts recommend getting the hedge properly shaped in July. All it takes is a little sense of proportion, a little practice and a steady hand. For simple geometric creations such as spheres, cuboids or pyramids, stencils can help, which you can easily make yourself using some sturdy cardboard or thin wooden slats.
Tip: In the event of a rainy and wet July, you should postpone the hedge trimming To protect boxwood from fungal diseases such as boxwood shoot dieback.
Cutting boxwood: This is the right tool
As with most other garden tools, gardeners have the choice between manual and battery operation when it comes to hedge trimmers. The tool of choice is and always remains a bit of a matter of taste. With the rather thin-shooting boxwood you save with one battery-operated shrub shears but a lot of time. Bushes with thicker branches often do not have enough cutting power. Here it is better to use the traditional one Hedge trimmer. It is important that the blades are as short as possible for an accurate shape cut.
Tip: It’s best to choose a model with fine-toothed cutting edges. This will give you a better grip on the boxwood shoots. The risk of the branches slipping and the cut becoming fibrous and messy is lower here.
You should also make sure that the blades of the scissors are sharp. Anyone who trims boxwood with blunt “weapons” risks wounds that fungi are only too happy to take advantage of.
Cutting boxwood: where to put the cuttings?
First of all, with a simple trick you can not only protect your back, but also save a lot of time. Before working on the box, place an old tarpaulin or something similar around the plant. Even the finest clippings no longer fall onto the lawn or bed and no longer have to be laboriously collected from there. Unfortunately, Buchs takes a lot of time when composting. Therefore, chop up the clippings a little more with a shredder and layer them in the compost with some lawn clippings.
Sources:“baumpflegeportal.de”; “mein-schoener-garten.de”; “ndr.de”
You might also be interested in:
This article contains so-called affiliate links. Further information are available here.