DIY
Wall sticker, photo wallpaper or border: ideas for wall design in the children’s room
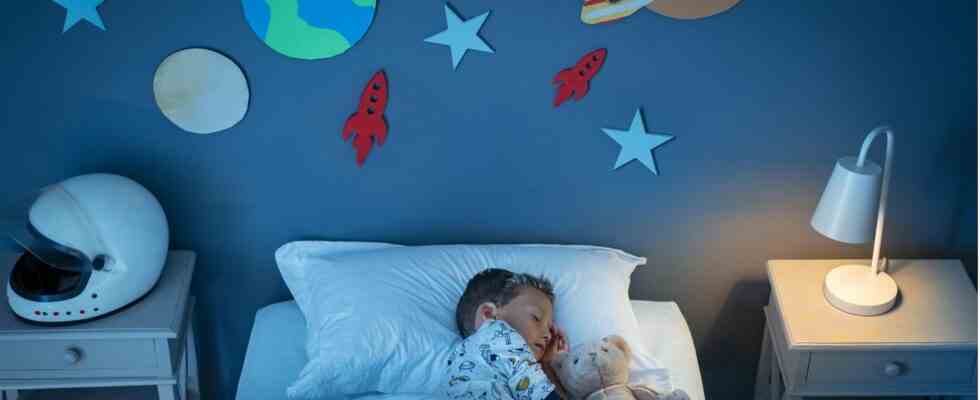
There are no limits to creativity and imagination when it comes to wall design in the children’s room
© Ridofranz / Getty Images

While it used to be common practice to wallpaper the children’s room, today more and more parents are turning to modern design options. Because they save time, money – and nerves. Today we present three creative ideas for wall design (including instructions) in more detail.
While wallpaper is still very popular in private homes, decorative wall design has gone out of fashion in public rental apartments. Not because the selection is too small – in fact, the time and cost factor play a decisive role. Because the fact is: A wall paint can be painted over or replaced faster. But here, too, the effort is enormous to give the children’s room a new coat of paint. It is much faster and easier to embellish the bare walls with decorative design elements – such as a photo wallpaper, wall stickers or a border.
Applying wall stickers: instructions & tips
Wall stickers are by far the simplest and fastest form of children’s room wall design. They (usually) adhere to all surfaces, i.e. not only smooth surfaces, but also to woodchip wallpaper or textured plaster. Provided, of course, that the walls are dry and dust-free. The selection of motifs suitable for children is almost endless: Whether Points or Stars, luminous sticker or jungle animals – there are no limits to the design possibilities. Nevertheless, you should consider a few tips before you apply the wall stickers in the children’s room, such as:
- Depending on the thickness of the wall sticker, a structured surface (such as woodchip) can push through the surface. This is not bad in itself, but of course it changes the look.
- If you have freshly painted a wall, the paint should be completely dry before sticking the stickers on it – otherwise they will not stick well (or not at all) to the surface.
- If the walls in the children’s room were only plastered, you should first apply a primer (also recommended for painted surfaces) – otherwise the stickers will not stick to them for long.
And now follows a small guide on how to do it wall sticker evenly spaced: take a square piece of paper or cardboard – for example 40 x 40 cm, depending on how far you want the stickers to be – and hold it against the wall with one of the corners facing up. Now use it like a kind of placeholder between the stickers if you stick them to the surface one after the other. Important: Only press the stickers lightly at first so that you can move them again if necessary. Only when you are satisfied with all positions, the wall stickers are pressed with the smooth palm of the hand.
Apply photo wallpaper: instructions & tips
In contrast to a normal wallpaper, the photo wallpaper is only attached to one wall – and in the end forms a large-scale motif, such as a mountain landscape or forest animals,Spiderman or Winnie the Pooh. Since the materials (usually paper or fleece) are very thin, the surface must always be clean and dry, smooth and dust-free. In other words, if the walls in the children’s room have just been freshly painted or newly plastered, you should wait at least three to six weeks before attaching the photo wallpaper. And of course there shouldn’t be any old wallpaper on the affected wall. Small cracks and holes should also be filled, as fine bumps would later push through the thin wallpaper.
If you want to attach the photo wallpaper afterwards, proceed as follows:
- Measure the wall first, as the subsoil – especially in old buildings – often does not form an even rectangle. So that the photo wallpaper is attached as centrally as possible, it is glued from the middle of the wall. It is best to use one for this level and a pencil to mark the key points.
- Mix the wallpaper paste as instructed on the packaging and allow for appropriate waiting times. Until the paste is ready to use, you can lay out the individual strips of the photo wallpaper in the correct order.
- Apply the paste to the first strip – but beware: if it is paper wallpaper (blue adhesive surface), the adhesive must be spread evenly over it and left to work for a few minutes before you attach the strip. If it is a non-woven wallpaper (white adhesive surface), the paste must be smeared directly onto the wall.
- In the case of photo wallpapers made of paper, the individual strips can be stuck on with a slight overlap, since the material can contract a little when it dries. Non-woven photo wallpapers should be glued butt together. Remember to line each panel from top to bottom with a rubber roller to smooth out.
You can find more detailed instructions on how to attach a photo wallpaper here.
Attach border: instructions & tips
If you only want to set small accents on the walls, doors or furniture as part of the children’s room design, self-adhesive borders are a good choice. Here, too, the use of tools such as a spirit level, a squeegee or a rubber roller is indispensable. Thanks to the self-adhesive backing, it is easy to attach the motifs (e.g Clouds or llamasthe space or hot air balloons) to be attached to the wall. They adhere to all dry, level and adhesive surfaces. The only important thing is that you attach the border straight (use the spirit level for this) – and follow the steps below: First, peel off the film, position the motif on the desired surface and press the border evenly. Then check whether all edges are straight. If that’s the case, get a rubber roller or roller squeegee and flatten the material.
You might also be interested in:
This article contains so-called affiliate links. There is more information here.