DIY
Build your own raised bed – building instructions for hobby gardeners
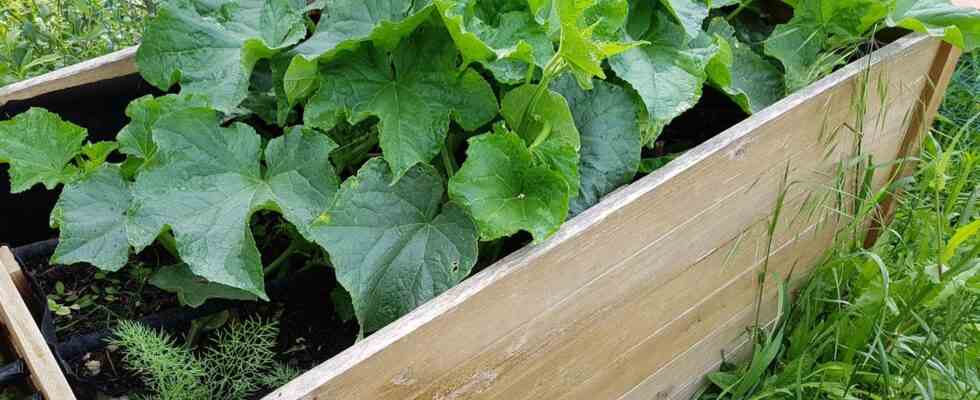
You can grow your own raised bed in just a few simple steps
© emer1940 / Getty Images

Are you toying with the idea of building a raised bed yourself? With these building instructions you can grow your own fruit and vegetables in no time.
As nice as the idea of growing your own tomatoes and cucumbers is, the gardening that goes with it means one thing above all: hard work. From sowing the numerous seeds to caring for the growing plants to harvesting the grown crops, it is a long journey – involving a lot of time, patience and back problems. So it is hardly surprising why raised beds are becoming increasingly popular: they not only require less space, but are also particularly easy on the back.
Other advantages of a raised bed include:
- The natural look – wooden pallets or stones are particularly suitable for the construction of a raised bed, as they blend naturally into the environment.
- The quick build – The construction requires only a few handles and materials, so that the construction of a raised bed takes little time and effort.
- The comfortable height – The raised bed is ideally adapted to your own height. Depending on whether you prefer to work sitting or standing, the height should vary.
- Less pests – Snails reach the seed very slowly due to the height of the bed and can be removed in good time before they reach the plants.
- A rich harvest – Similar to composting, the earth, consisting of different layers of organic material, decomposes. This creates humus and heat, which promotes the growth of the seed.
- The easy management – Only after five to seven years does the raised bed have to be replanted with compost or fresh potting soil if the volume has fallen sharply due to increasing rotting.
Tip: The width of the raised bed should not be more than 120 centimeters according to your height – otherwise it will be difficult to work in the middle of the cultivation area.

Wooden boxes lined on the inside are best suited for your own raised bed
© emer1940 / Getty Images
Garden design: How to create your own raised bed
If you opt for a raised bed made of wood, particularly durable boards (approx. 2.5 to 5 centimeters thick) are recommended for the side walls – for example made of larch, robinia or Douglas fir. Make sure that the type of wood is untreated and free of pesticides.
Otherwise you will need these materials:
- four corner posts stabilize the side walls (if the bed is less than two meters long, otherwise six is better)
- four ground sockets protect the corner posts from the damp soil and give the raised bed even more support
- pond liner protects the wood from the inside against too much moisture
- wood stain protects the wood from the outside against weather influences such as sun, wind and rain
- steel screws are particularly stable and do not rust
- chicken wire protects the seed from rodents such as voles that attack the plants
Once you have all the materials together, the wooden boards and posts must first be attached to the glaze to be painted. Are the side walls dried, it can with the Construction of the raised bed move on.
Building instructions: Step by step to your own raised bed
- To markthe spot, where the raised bed is to be set up later – preferably in a north-south direction for sufficient hours of sunshine. For this you can use a thin bricklaying cord use or you stake out the area with the posts.
- To ensure that the corner posts are stable in the ground, the staked out turf must be dug at least four inches deep will. Then the ground sockets rammed into the ground and the posts set on top. Without ground sockets, the posts should better be buried 30 centimeters deep.
- The side walls must now be screwed to the posts horizontally and at least five centimeters above the ground. Once the first two rows are assembled, comes the chicken wire for use.
- The wire is cut and bent so that it still overlaps the bottom two boards by at least 25 to 30 centimeters when it is on the bottom of the raised bed. The bent sides must then be stapled to the wood.
- After the remaining boards have been screwed, the whole construction With pond liner be lined and stapled. The film can protrude up to 20 centimeters towards the floor.
Tip: If you don’t have your own garden, you can also create a mobile raised bed on stilts on the balcony or terrace. You can get the complete kit for this, for example here.

The selection of plant seeds for the raised bed in the garden is huge
© private
Fill the raised bed correctly: you have to pay attention to this
Filling the raised bed correctly is crucial for successful planting. For this reason, the following components should be stacked in the correct order at least a meter high:
First Place coarse material such as tree or hedge clippings (twigs and branches) on the bottom of the raised bed, it serves as a kind of drainage. Thereon lay a thick layer (approx. 20 centimeters) of chopped wood such as branches or bark mulch. Thereafter dump your garden waste on it, such as grass clippings and leaves – you can also use the previously dug sod here. About that now layer half-ripe compost (about 15 to 20 centimeters) and last but not least follows the plant layer. It consists of humus-rich soil mixed with mature compost. Now you can plant the raised bed. Also in this point you should choose the seeds carefully.

Tip: In the first year, heavy feeders – i.e. plants that withdraw nutrients from the soil as they grow – are particularly suitable for sowing. These include, in particular, peppers, leeks, potatoes, cucumbers, tomatoes, zucchini and celery. After three years, however, other plants such as spinach, salad and radish or even strawberries.
You might also be interested in:
This article contains so-called affiliate links. There is more information here.