Sinking ship
Repairing an inflatable boat: How to patch small holes and tears
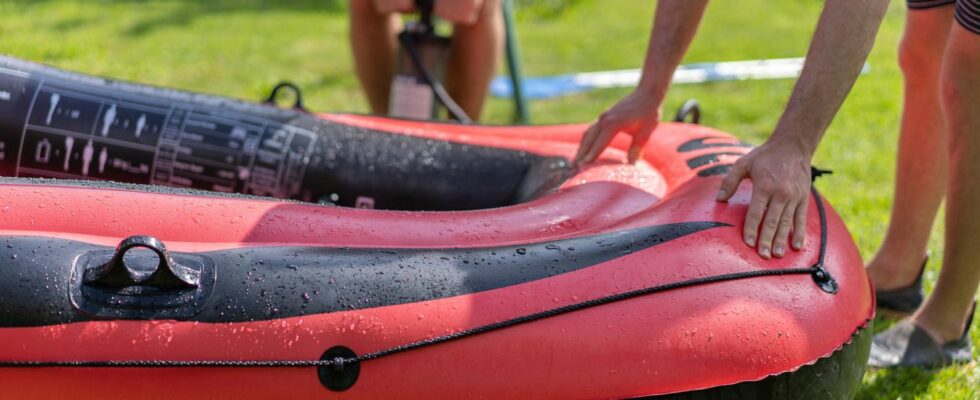
With the right tools, a broken inflatable boat can be repaired
© Claudine Silaho Weber-Hilty / Getty Images

Many a planned paddling trip ends prematurely when the dinghy is leaky and water gets in. So that you can repair small tears or holes more quickly while on the move, you should always have a repair kit on board.
If the dinghy has spent a winter or two in the basement or attic, it is not uncommon for the materials to have become brittle over time – and welds to come loose. But even a brand new model could easily break during a paddling trip, for example due to sharp objects lying on the bottom or floating in the water. However, since few people make the effort to check an dinghy for possible holes beforehand, they are only noticed on the way. And that can be really dangerous if the occupants are not (yet) able to swim or if the nearest shore is far away. This makes it all the more important to take a repair kit on board in case of an emergency.
Repair kit for inflatable boats: This should be included
A classic repair kit for inflatable boats is primarily designed to patch up small holes and tears in the material as quickly as possible – on land or on the water. It contains several components, such as glue and various patches. It is important to know: Depending on the materials the inflatable boat is made of, the repair kit should be selected accordingly. For example, for an inflatable boat made of PVC, you will need a PVC repair kitOtherwise, the glue or patches may not stick to the material. It is also advisable to keep a pair of scissors in the repair kit to cut the patches.
Repairing an inflatable boat: instructions for patching
If you have discovered a hole or tear in the material, you must repair the dinghy. Follow these steps:
- Mark the spot where the air comes out of the boat.
- Cut off the protruding edges of the hole with scissors.
- Make sure the area is dry and free of dirt and grease.
- Cut the patch to size – it needs to be slightly larger than the hole.
- Put the glue on the patch and press it onto the hole.
- Wait at least five minutes for the glue to dry.
Another note: Depending on the adhesive and materials, it may be necessary to roughen the hole with some emery cloth or sandpaper. Please pay attention to the instructions on the adhesive manufacturer’s packaging.
Tip: How to patch holes without a repair kit
If the dinghy is made of rubber and you don’t have a repair kit to hand (on land), you can use a simple trick – all you need is an old bicycle tube: Instead of sticking a patch on the leaky spot, cut a piece out of the tube and attach it over the hole with a Repair adhesive (for PVC there is special Liquid). Alternatively, you can use a patch from a bicycle repair kit if you have one. As always, pay attention to the material of the dinghy.
Prevention: How to avoid holes and cracks
To avoid having to repair your inflatable boat in the first place, you can take preventative measures such as:
- Store your inflatable boat outdoors under a tarp, as animals running around or flying around could tear holes in the material.
- Do not push the boat over the rocky bottom into the water, but lift it first to carry it to the nearest lake.
- Be careful not to leave any sharp objects lying around in the boat that could pierce the material, such as a knife.
- Take off your shoes before getting into the boat or check the soles for any sharp stones stuck in them.
You might also be interested in:
This article contains so-called affiliate links. More information can be found here.